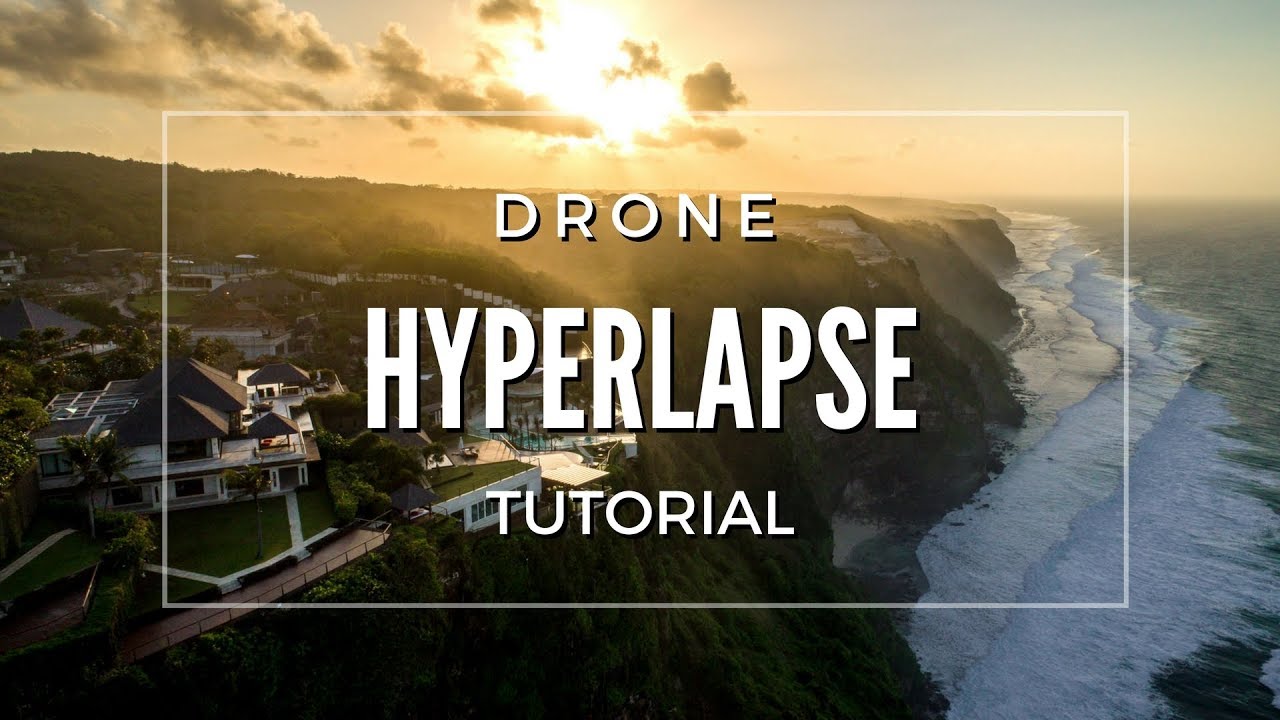
This is an article by our guest author Julien Leveau, who today explains how to hyperlapse with a drone.
If like me, you already have a drone and want to do something different and spectacular, stay with me!Here’s everything you need to know to hyperlapse your plane.
Hyperlapse is a form of dynamic time-lapse (i. e. the camera moves while shooting), but what is a time-lapse?
A time lapse is a video made from photographs. When we record a video with any camera, the camera actually takes a certain amount of photos per second. Usually 24 fps, but you can also save at 30 fps, 60 fps, 120 fps, do I understand fps?as an image per second, or frame by second.
Obviously its resolution is much lower than that of our DSLRs, so the time-lapse is not an accelerated video, on the contrary, it consists of taking photos every period of time and assembling them during editing to be 24 photos per second. Still have doubts? I invite you to read this article that explains it in more detail.
Now let’s get back to our subject, hyperlapse. We have three ways to do this:
The interesting thing about a time-lapse is that it practically allows you to “accelerate time”. How are you doing? Well, with a normal camera set to record at 24 ips, we get the following:
However, if, for example, we decide to take a photo every second (there are many different settings depending on the desired effect and the duration of the final video), we get:
As I mentioned earlier, this technique will allow you to speed up time, but if you record something still, you won’t feel this effect Therefore, the number one rule in hyperlapeo is to look for something moving!Here are some clues:
You’ll need to make the in-app adjustments that allow you to maneuver your drone so there can be a small difference between the apps. As I mentioned earlier, I use Litchi (it costs about 20 euros in the Playstore), but you can also use the native DJI app (if you use a DJI drone obviously).
In my case I use Litchi because it also allows me to set the route and points of interest that the drone will follow during its flight. If you don’t have this app, the only difference is that you’ll have to run it manually.
Before you enter the configuration, you should think of two things
With these two elements in mind, you do the math.
With this calculation, you enter the camera parameters and do the following:
1. You click on the image format and you have two options: RAW or JPEG, any photographer will tell you to opt for RAW format because it allows you to further manage in post-production, which is true, however, in the case of hyperlapse, this will not always be possible. Simply put, if you decide to take RAW photos, the time between each photo will have to be more than 10 seconds. If you change it to JPEG, you can reduce it to 2 seconds (even less depending on the device).
2. In a period of time, you adjust the interval between each photo and the number of photos the drone will take in total (in my case, I leave it undefined).
3. Manually adjust exposure and whites as you would in a normal photo. Never leave it in automatic!
4. Volons!
If you fly manually and not with a predefined route like me, I recommend two things:
If you don’t get it the first time, don’t despair and try again, the effort is always worth it!
We have reached the stage of our beloved computer. Upload photos and import them into video editing software (in my case, as I said, Adobe Premiere Pro).
Click Import File or press Ctrl I on your keyboard and a box will appear. Looking for the folder that contains the images, you click on the first one, click?Sequence of images? And you’ve got it. The photo stream will be interpreted as video according to the sequence settings (24 ips, 30 ips?).
Now you will see that the video probably looks very unstable and is not acceptable per se, because it has not yet stabilized it. To do this, open the sequence in After Effect. Right-click and press “Replace with The After Effect. Once in the program, use trackers to stabilize the video. In case it doesn’t look like you, I’ll leave you a video that explains it in more detail:
Finally, if you see that there is some kind of flicker (flashing) during the video due to exposure changes in the shot, you can adjust it by following the steps in this tutorial:
And now you have it! Your first hyperlapse pro made with a drone. Over time you will see that you can make spectacular videos. Here’s a hyperlapse (day by night) I did on a project in Puerto Vallarta (go to the 2:00 minute if you want to go directly to Hyperlapse).
This is an article by our famous guest author Julien Leveau, wedding and architecture photographer. You can follow his work at Julien Leveau and Studio Arcenciel.
If you also want to participate as a guest author, click here
Did you like the article? Thank Julien for her tips by sharing the article on your favorite social network so others can also benefit from her recommendations. Thank you and soon.

