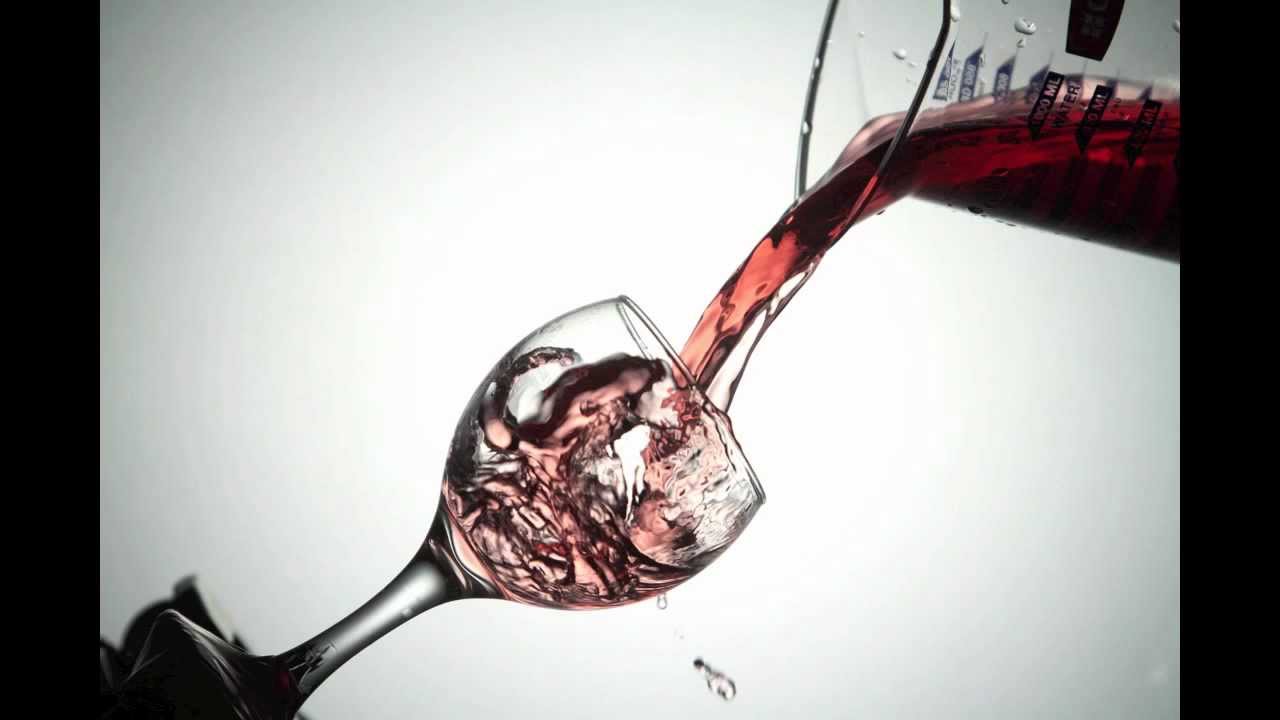
This time, the tutorial is made so you can have a little more fun shooting. And nothing can be more fun than photographing moving liquids, flying everywhere, like those commercials for coffee, milk and soda that leave us salivating. There are several ways to do this, but we have chosen one that is very interesting and full of tips. So, let’s go step by step to photograph moving liquids!
prep
- One of the things you’ll need when photographing moving liquids is a solid.
- Fixed background.
- Like a wooden board.
- Everything in the scene.
- Like glasses or a pot for example?must be firmly attached to this bottom.
- The only thing that needs to move in the photo is the liquid.
- If other elements fall and fall.
- The effect will be ruined.
- In terms of photographic equipment.
- Let’s use the basics.
- A camera tripod and an external flash.
- Ah.
- The last two things are essential: a syringe without a needle and an assistant.
organization
Then prepare your scene composition, with the background and elements you’ve chosen. You can use hot glue in this preparation, to keep it perfectly stable. Let it dry as long as it takes, of course. And here’s the secret you probably didn’t expect: this mini-scenario?will be placed face down.
To do this, you can install it between two fairly high brackets, or hang it from the ceiling with at least two thick nylon threads. There are several other ways to turn your script around, put your creativity into action!The points to consider here are the height and stability of the room you have built. Remember: you can’t swing.
Lighting
Do you remember the flash we already talked about? Yes, set to RPT and low capacity mode. The intention is that you create a very short impulse, which will freeze the movement of the liquid in the photograph. Therefore, to photograph moving liquids, 1/8 to 1/128 of the flash capacity is sufficient.
If you want to learn more about flashes, read this article: Portable flash: the power of light in your pocket
It’s time to shoot
Fill the syringe with liquid and place your assistant under the stage you installed (so the height fits well). Now comes another secret to photographing moving liquids. Your assistant splashes the liquid with the syringe (for example, inside the cup) from bottom to top; The best way to get good effects is by making circular movements with your hand, in the meantime, you’re taking the pictures. Repeat this procedure several times. You will need more than one photo to get the best result.
REFINEMENT
Did you take all the pictures you wanted? Then download the files to your computer. To achieve the final result, you will need to merge the photos with the best effects into one. As the scenario was always the same, and very stable, it will be easier (have you seen the importance of this preparation?).
After some Photoshop magic, will you have a good photo? And probably a room full of milk, coffee, or water, but cleanliness, like pleasure, is also part of a photographer’s job, especially when photographing moving liquids.
If you want to learn some tricks with Photoshop, check out this tutorial on how to create the perfect panoramic photo.