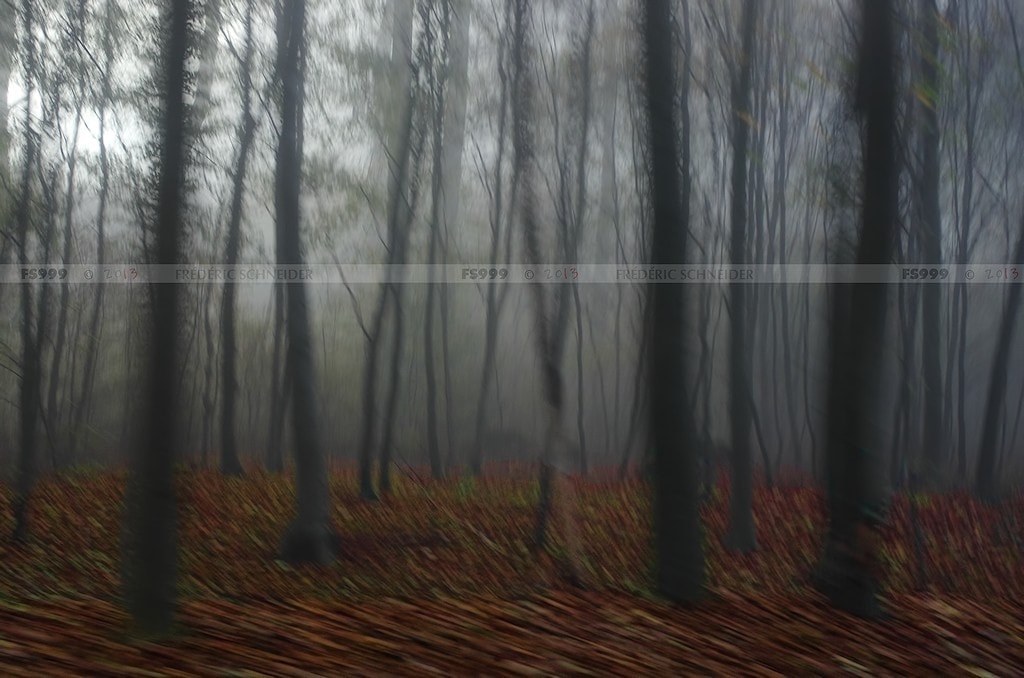
Destabilized images are unfortunately one of the most common mistakes and with the worst solution that photographers can find, a bad picture always has a better solution, you can crop here or there without losing too much image quality. some lights and shadows, increase or decrease the contrast?All these small adjustments or corrections of our image will hardly make us lose quality, but a destabilized image is another story, if the image is shaky, it is shaky, there is no luck, there is little to do or little room for improvement, so it is better to prevent and act before the tragedy occurs, because in addition the tremors caused by our own movements are difficult to detect with the naked eye; We usually notice them when we joyfully open the images on our computer and, surprise!, does our image shake, shake, useless?
So let’s look at some tricks so that if your photograph fails, at least it’s not because of the destabilization of the camera.
- You think there’s no difference? And not just for your comfort.
- The way you hold your camera.
- Can it turn you into a tripod or mixer?So try to hold your camera as firmly as possible.
- Giving it support points.
- Through your own fixed and balanced body.
- If necessary.
- Look for external anchors.
- All to take to your camera as little movement as possible.
Always remember the formula that gives us approximately the minimum speed at which we must photograph so that the images do not move:
1 / Focal distance from your lens, or what is the same, you should always work at a speed greater than the focal distance of our lens. For example, if I’m working with a 50mm, with a speed of more than 1/50s, that should be enough to freeze the image. However, it is a rough formula, some of us have a good pulse and will probably be able to work at slower speeds (1/30s) without being nervous, and others will need faster speeds because we have a bad pulse or because we literally like to run behind. image?
Therefore, if you have low light and can choose, it will be more useful to photograph with wide angle than with telephoto lens, because the first one will allow you to work at a higher speed, thus reducing the risk of tremors. In short, the less you zoom in in on low-light situations, the better?
Okay, we take pictures and we have the possibility to see in situ that we look bad, blurry, shaky, nervous, anyway, meat to recycle garbage, fortunately we are in time to solve the problem that we have identified as a lack of speed. Now, how to get more speed without the images being underexposed?
Photography is an arm fight between ISO, speed and aperture. Any variable in the exposure triangle you change will affect the other two. If you can understand how they interact with each other and how and how they affect the image, can you magic your images?Let’s see what we can do to gain speed to avoid shaking:
The higher the ISO, the greater the sensitivity of the sensor to light (it is as if an additional light has been lit in the background of your image). But be careful, you should not exceed the limits of your ISO because this will add noise to your Discover how high the maximum ISO your camera can operate without loss of image quality.
The aperture of the diaphragm is synonymous with greater light input, but at the same time a loss of depth of field. Keep this in mind because depth of field (focus area in the image) can significantly change your image.
They were invented precisely for situations like this where you have low light and you have to fix the movement that you transmit to the camera yourself, if your camera or lenses are relatively new you have probably integrated them, so take a look and, if you have one , turn them on?
This is the easiest and most effective way to eliminate jolts, allowing you not to change the aperture, ISO or speed variables.
Don’t you have a tripod? Well, from inventiveness to power. Shelves, street benches, endorsements of acquaintances, car roofs. . . what comes to mind (with caution?) What you find around you that allows you to properly fix the body of your camera.
Flash has many lovers and detractors although, regardless, it has its stellar moments. If you’re looking for stabilization, could this be one of those moments?
Unstable images are one of the most common and dangerous problems faced by photographers, as well as one of the most frustrating because they are very difficult to detect on-site (on screen) unless they are very obvious, so it is always a good idea to apply this premise: better than not to fail, it is better to overcome an ISO or a speed or an opening , you won’t keep the image fair, apparently correct, and you’ll be very disappointed when you get home. it’s about stabilization, is it better to be conservative and play it safe?
I hope that after this article, the destabilized images will belong to the past ;-). If you want to try to help end this frustrating photographic scourge, share it with those you think may need a little help?Thank you and the next one?

