Inspiration is the most capricious and enemy number 2 of a photographer (the first is laziness?). Unfortunately this is not uncommon, surely it will appear several times along your photo tour, but nothing happens ?. The important thing is not to let him settle into our lives, teach us something every time he shows up and have tools to get out of it when it happens.
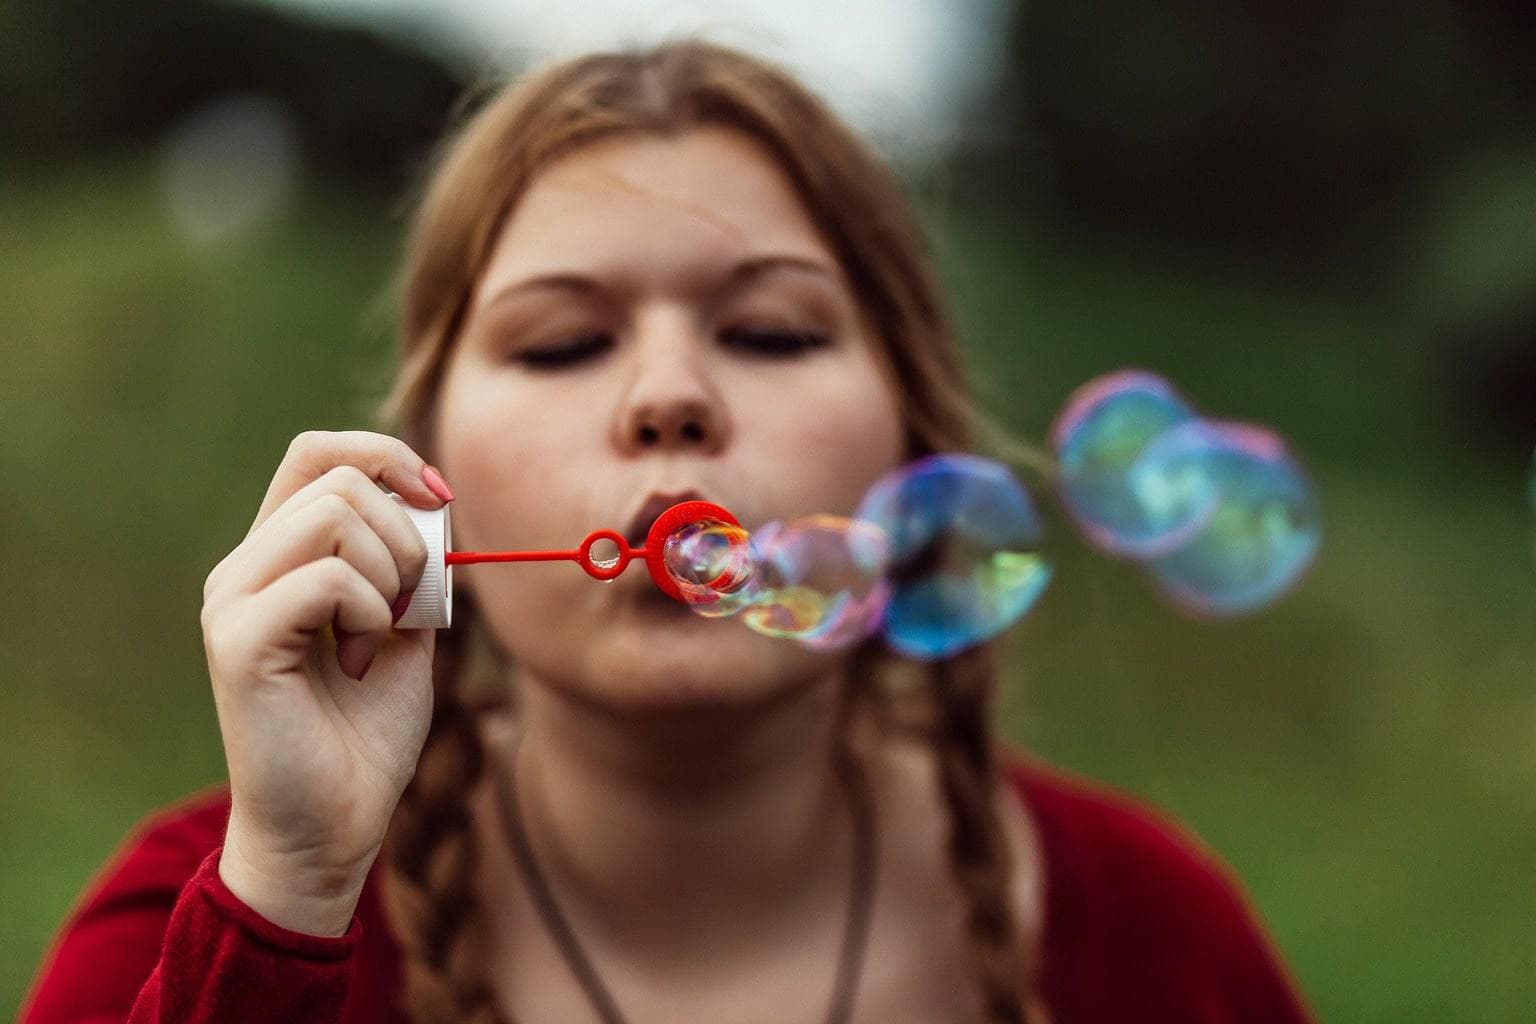
Setting short-term learning goals and challenges is a wonderful way to break the lack of inspiration. How about learning how to photograph soap bubbles? You don’t need great knowledge or complicated logistics, but this can help you work on creativity, setting up your camera, not to mention the wonderful images you can get. Do you dare to keep reading? Let’s see how it’s done
- To begin with.
- I’ve already told you that I can’t imagine the soap bubble scene without an assistant doing them while you’re photographing them.
- Of course you could do it yourself.
- But it would be complete stress?.
- Then if you have someone to help you.
- So much better.
- So that you can focus on tracking.
- Concentration and framing your pomp.
- That I am already suggesting and that it requires some agility.
Yes, I haven’t gone crazy, so I can think of at least two types of soap bubbles you can photograph.
Just as the former are easy to find in any kiosk or children’s store, the latter you will have to do, but don’t worry, there are many tutorials on the net that explain perfectly how to do it, from the proportions of the mixture (water, dishwashing soap and hair-fixing gel) to the realization of the pompro with two sticks and a rope.
Here’s a video that shows it to you
Oh, and if you have children or do children’s sessions, remember that you can also get different toys or machines that bubble automatically and in large quantities, like this:
And if you don’t just clarify with the mix, or with the pom-pom on a large scale, you can buy everything that’s done, for example this one.
Well, let’s now look at some practical tips for photographing soap bubbles with good results.
Look for a background that highlights the soap bubble, preferably a slightly dark tone so that the contrast is greater and helps you to give it importance.
Also remember the importance of a background without distractions, so before you start your session, look for a suitable place.
Negative space can help you compose the image while respecting the prominence of the bubble.
The rule of third parties, you probably already know it, says that in the picture there are “Strengths” where the gaze is directed naturally. Try using it in one of your images, this will help you control the image and improve your protagonist.
The odd number rule tells us that odd elements create more interest to the viewer, especially the groups of three elements.
This is surely one of the aspects that will give you the most game when it comes to photographing soap bubbles. Rounded shapes and bubble curves can generate interesting fisheye perspectives.
Note that a large aperture (small value) is related to a low depth of field and the ability to isolate the subject from its background image with a blur.
On the other hand, a closed diaphragm aperture (high value) increases the depth of field allowing you to focus the different planes of the image.
We have already commented on the importance of the human element in photography, how we empathize, create a story and narrative and add interest, since you already have an assistant to make your pomp, why not ask it to model you a little?Little??
Because the bubble is a moving element, you’ll need to keep that in mind when choosing the speed at which you’re going to work, remember that the minimum speed depends on the focal length you use (the longer the focal length, the higher the speed you need), but a speed of approximately 1/250s with a mid-range focal length will surely be more than enough.
However, do some tests with the light you have available and verify that the bubble has not moved by zooming in on the screen before proceeding.
Once you have set your speed, you can set your camera as a semi-automatic option to prioritize speed and make any aperture adjustments you deem necessary.
And of course, if you want to work manually, you can control all the settings of the shot yourself and I will always recommend you, always this option when you master your camera ;-).
Since we are talking about a moving element, the best shooting mode would be AF-C or SERVo AI, citing our detailed guide article: How to set the focus of your camera based on the photo you want to take:
They are used to photograph moving subjects. This system will focus on what moves in front of the target and monitor it whenever we have pressed the trigger mid-run. Once you’ve decided to take the photo, just press the shutter button completely.
So you’re going to get more chances to do it? Hunt the bomb just whenever you want or even throughout the process.
Give your images a different touch by converting them also to black and white, look for more formal compositions, light, contrast, shadows, etc.
If it’s the most photogenic light is no secret, the laterality of the light rays from the first and last hours of the day will help you increase the volume of the bubble and fill it with warm tones.
What, are you already calling your best friend, your partner, while you wait for your child to drop out of school to help you with your bubble session?Remember that learning new things stimulates creativity and eliminates the lack of inspiration from our photographic soul.
I hope this has been useful to you and that you share it on social networks so that someone else can enjoy it (Facebook, Instagram, Google or Twitter). Thanks and soon :-).