Note from Mario: This time Vicente Nadal brings us closer to the world of product photography, one of the most popular branches of professional photography. Would you like to learn a little more about how a product photographer works? Read the article.
Professional photography is not just about reporting and covering weddings, photographing people has its difficulties. With people you have to be very patient: the subject may be bored, nervous, rigid or not accurately interpret your indications about the pose, a product instead allows you to photograph, giving you total freedom. Don’t get nervous, he doesn’t get tired of a pose, he doesn’t sweat, he doesn’t get too serious. Do it as you want.
- Photographing products can be a great way to earn a living or simply to develop your artistic skills.
- You are probably wondering.
- “I can’t go overnight to photograph products.
- I need equipment.
- “.
In today’s article, I bring you closer to the world of product photography and the photographic equipment you’ll need to introduce yourself to this world.
In principle, this could be valid with any compact camera, but to take product photos, it would be better to have an SLR camera with some of the following qualities to help you better take these photos:
Just as the camera is limited to capturing the image, the optics are really responsible for creating it. It is preferable that:
In product photography it is absolutely essential that you have a tripod as photos should not be taken while holding the camera in your hands, they will be out of focus and out of focus. But not just any tripod will do, from those little plastic trinkets to a compact one.
A good tripod should have these characteristics
A tripod that meets all these characteristics is the Vanguard Nivelo 245BK. You can also check out this other article in which Mario details the benefits of the Vanguard Abeo Pro 283CGH.
A portable photometer will be essential if you take photos with flash, its usefulness is that it allows you to accurately measure the intensity of light. In case you take the photos with continuous light, you can work with the camera’s photometer but still taking into account the information you receive on the screen and looking at the histogram of the images. A portable photometer to measure the light from the flash should be able to add flashes, that is, if with the flash output at full power I can set an aperture of f / 5. 6, how many flashes do I need to be able to set an aperture of f /? 22? The importance of this function is given by the shallow depth of field of photos taken up close and for small objects. In these cases it is essential to be able to have the maximum depth of field and this is normally only possible by closing the diaphragm as much as possible. If our flashes have low power, we have no choice but to add flashes in the same plane until we reach the desired diaphragm. The only drawback of these types of shots is that they must be taken with the shutter open, at “B” and completely in the dark, firing the flashes as many times as necessary. Perhaps in another article we will explain these and other techniques in more detail. If you are involved in light metering, check out this article on light metering modes on this blog.
Whether you prefer to use the flash or prefer continuous light, it is clear that you need to illuminate your object, the advantage of flash over continuous light is its greater power, essential to properly illuminate large objects, on the contrary, it is more complicated Continuous light is easier to manipulate because what you see is what you get, but you have more limits when it comes to illuminating large objects and directing enough light. I recommend using continuous light for small objects and flash for large or complex objects. For flash equipment, you would need at least two identical flashes with windows of 60X60 or more. Having three would be ideal. Check out this article on portrait flash lighting, it will definitely help you.
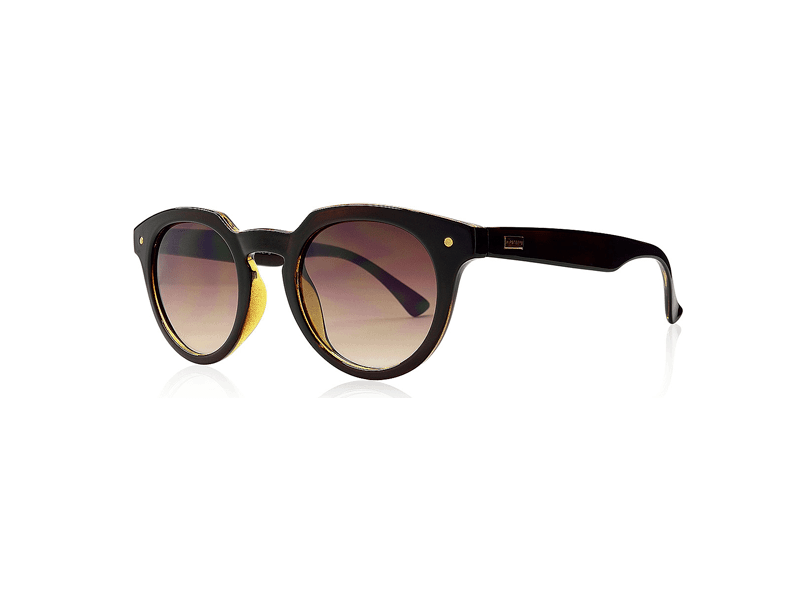
The dead-nature table is one of the most valuable elements of a product photographer. They are usually expensive, so unless you have a lot of work to do, I wouldn’t recommend buying them right away. Instead, it can make up for your lack of imagination. In the photos you can see what a standard still life table looks like and how it was the montage I did to take the photos of the sunglasses like the one seen at the beginning of the article.
The dead-nature table you see in the photo costs about 395 euros (with lighting included). My assembly cost me 1. 75 euros of white cardboard, duct tape and 5 sheets of white paper. The pictures are taken in the kitchen of my house with the lights of the kitchen bench. The result is excellent despite taking photos with such “normal” supports.
Another very trendy accessory for product photography that is very reasonably priced are product photography buckets. There are black and white in different sizes. It is essentially a translucent fabric matrix that allows light from the flash to pass through. They have an opening to place the object and the camera lens. In this object, objects can be photographed in uniform diffuse light and without things around them being reflected by objects.
There are countless minor accessories useful for product photography, here are some examples:
Mario’s advice: if I can add something, let me finally say that the main support you need to get started in product photography is? yourself. If you have the will and are really interested in the subject, wait no more. Don’t wait for your photographic equipment to be “full”, don’t leave it while you swap your current camera for another. If you are going to photograph products, I think you should start now. You don’t start doing this overnight, it’s a learning process. By practicing, you learn. If you don’t practice, you don’t learn.
Thank you for reading. If you enjoyed reading this, I would appreciate a “Like”, a retweet or a +1 on Google+.