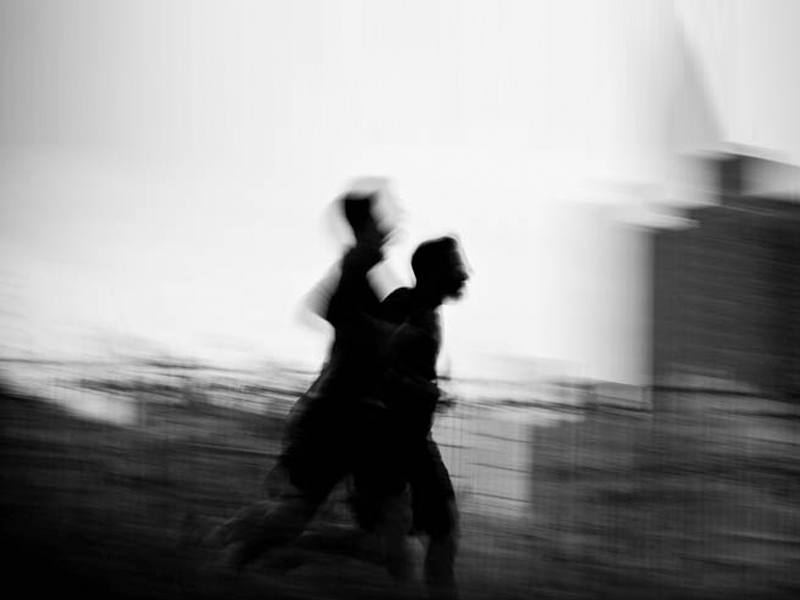
Shaky photos are a common complaint among most amateur photographers. How many pictures did you have to send in the trash because they were agitated?Do you still have the bill?
If you also suffer from the damn trembling photos, I invite you to read today’s article, in which I will explain everything I know about the trembling photos (it is little, but something is something;)), why they happen, in which situations they occur most often, which makes a photo more blurry, and above all and most importantly how to say goodbye to them and never suffer them again.
- Conclusion: Shaky photos occur when the lens undergoes a movement (sometimes small and imperceptible) while the camera “records” the photo and the shutter is open.
- Reminder: If you are an avid reader of this blog.
- You know it by a photo to be taken at the time of the trigger.
- A small door opens inside the camera.
- Letting the light pass through the lens.
- Stays open for very little time (usually a fraction of a second) and closes.
- Very quickly when you hear this “click” of the camera shutter (by the way.
- Does anyone else like this click or how can I?).
So, if during this short moment (a fraction of a second like I said) our hand moves with the camera and lens, PHOTO DEPLAE!
These shaky photos occur most often in situations where there is very little light or where we use a long focal length (zoom or telephoto).
When we take a photo in automatic mode, the camera calculates the time (usually fractions of a second) during which the shutter should be opened and the photo should be recorded based on the amount of light outside. there is a lot of light (e. g. a photo in the midday sun), then it opens and closes extremely fast, but if it is a photo with very little light (for example, a photo in an interior house away from the window and with the light off) the camera, in automatic mode, decides that it must remain open longer in order to capture enough light , otherwise we would have a rather dark photo, if at this moment we hold the camera with our hand or on an uns stable surface, the photo will be recorded and with it the movement of our hand.
Actually everything happens fast, without us noticing, there are even times when we hold our breath, we try not to move anything, but there are still micro movements in our hand and arm that we do not notice but the camera does. and boom . . . PHOTO MOVE!
This point is related to the previous point, and it is usually that the longer the focal length (80, 105, 200mm . . ) less light penetrates the lens. It is a topic more related to the construction of objectives and availability. of the crystals and optics that make them up. For now, you should know that the larger the zoom, the greater the chance of a blurry photo coming out.
Here are a few tips and tricks to help you keep your photos from always blurring, or at least reducing the problem:
Just for me. I hope I’ve helped you understand a little bit about the problem of blurry photos and that from now on more photos of you can “see the light” correctly, you know, if you think this article will make life more comfortable for someone, share it.