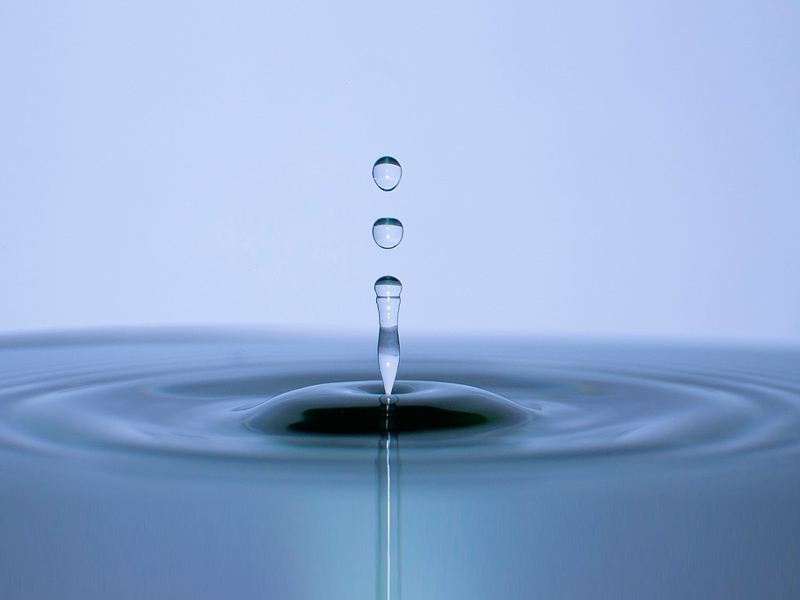
We’ve all already admired a picture of a drop of water. Water can be a beautiful photography object. Its brightness, transparency and unpredictable shapes it takes when it bounces are coveted by many, both professional and amateur.
Would you like to be able to capture a drop of water in its moment of maximum splendor and freedom? Today I will explain to you in 8 simple steps how to photograph a drop of water without dying of despair.
- I don’t know that photographing a drop of water (doing it right) is no small thing.
- It can be one of the most difficult photographic works.
- Especially for someone who is still getting started in photography.
- The water is transparent and your camera has trouble focusing on clear or colorless elements (have you ever tried to focus through a glass?).
- On the other hand.
- Nothing moves faster or wilder than water.
- It is unpredictable and its movement is very fast as a prey fleeing its kidnapper.
- If you want to capture a drop of water.
- There’s only one way: be even faster.
- You want to know how?Let’s go.
To capture the bounce of a drop of water, we will need the following material:
Step 1: The first thing we have to do is create our small makeshift studio, we will place the cardboard in the background and in front of it we will put our glass glass full of water until it overflows Council: In order not to finish the whole scene flooded with water, I recommend putting the glass in turn in a bowl or wide container, this way the splashes of water will not reach the table or the floor.
Step 2: You can produce continuous water droplets in various ways: dripping bottle, damp cloth, etc. In fact, I recommend you experiment with the method you can think of, in my case the water soaked rag method works well for this will have to hold on one way or another, so either you ask a friend to hold it for you, or you find a way to keep it safe so that it flows directly over the glass of water. And now comes the important part, the camera settings.
Step 3: If you have a remote shutter, select the remote shutter mode on your camera (if you don’t have it, no problem, go to step 4), because that way you get more accuracy and the camera moves less.
Step 4: Force the flash or prepare your external flash or light source so that the scene is well lit at the time of shooting.
Step 5: Mount the camera on a tripod. This will be useful for stage 6.
Step 6: Now do a test by focusing directly on where the drop of water falls. Although the camera has an autofocus, please do not use it. No, shit!! With autofocus mode, it’s very easy for your camera to get it wrong and focus on the edge of the glass, the background, or any other unwanted element. If you want to do it right, you have to focus manually, take the measure of the focus and leave it there. Remember that the AF point is lost if the camera moves, so that in order not to lose this focus calculation, the camera must remain at exactly the same point all the time. That’s why I asked you in the previous step to take out your tripod. (Well, attach a photo I took for the purpose of bad focus so you can see an example with bad results, click to enlarge).
Step 7: Then select manual mode (on most SLR cameras, it has an “M” symbol) and set the shutter speed to 1/1000 and the af/8 box. Tip: The shooting speed should be high to “freeze” the water bounces, however, there is no default and accurate speed that you should try. You’re supposed to use an external flash or strong light to experience very high speeds. But he experiments all the time.
Step 8: Shoot and shoot. Try to capture the encounter of the water drop with the glass, you will see that it costs you at first, but after some photos you will start to synchronize your shot better and better, it is very important to synchronize the shot with the moment of the bounce of the fall.
Here are a series of tips and tricks to help you get awesome results
As you can see, getting a good picture of a drop of water may seem complicated, but I assure you that as soon as you take it seriously and have the preparations described above, you will get wonderful results. Take as much time as you need. If you have any questions, leave it down in the comments, and if you applaud and get a picture of a drop of water, upload it to the wall of our Facebook page.
As always, if you liked this article, I would appreciate a vote or recommendation.