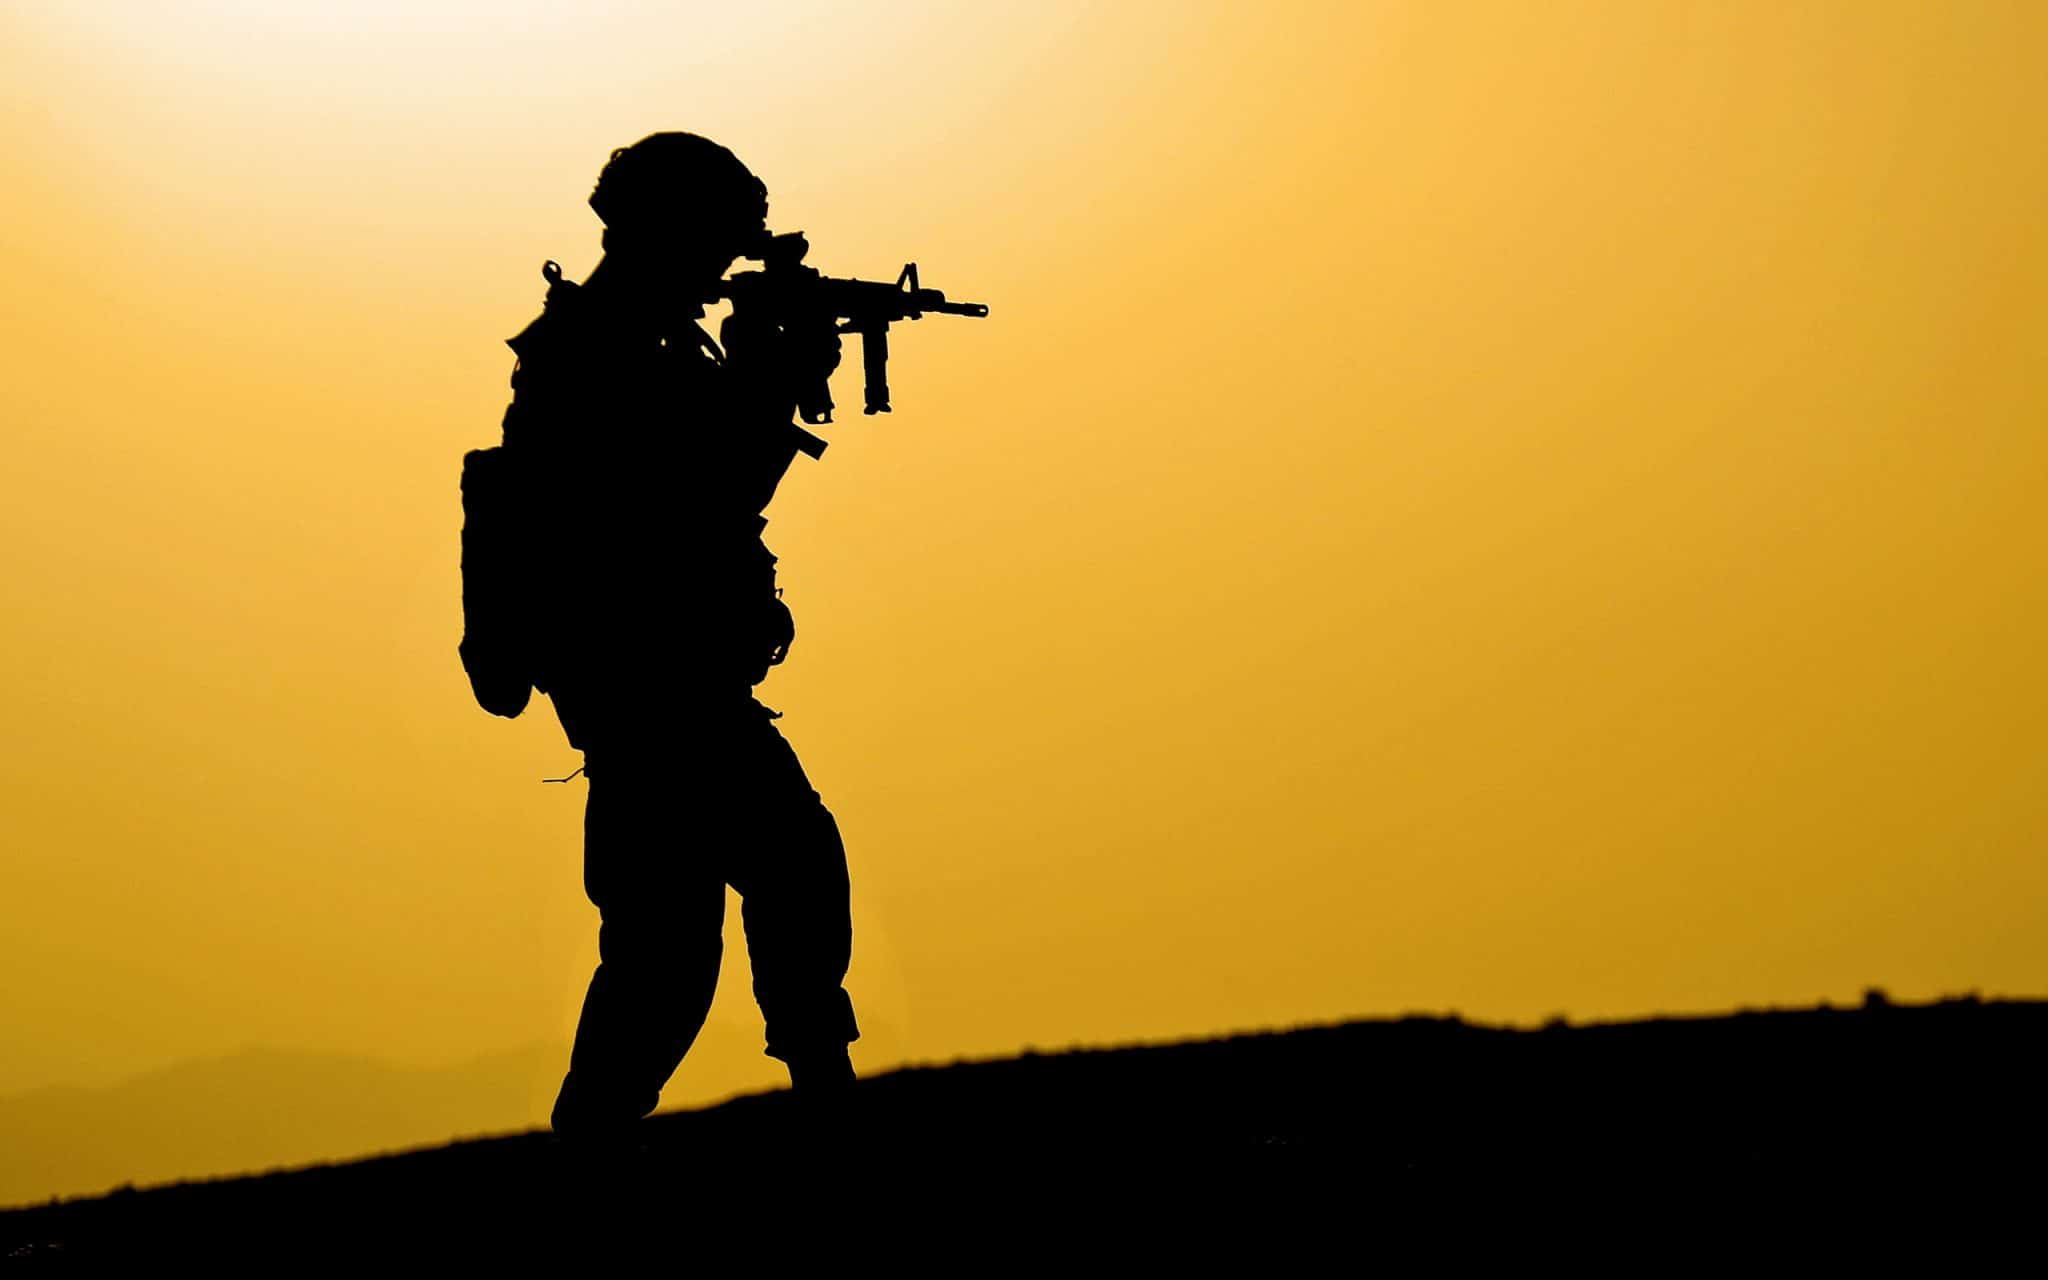
Photography offers the photographer several options to explore the images in order to represent only what we see every day with our own eyes. Sometimes the professional behind the camera has to put his creativity to work and create images of things that only a photographic lens can provide. . One of them is silhouette photos, which give us a glimpse of something we can’t see without the help of photographic equipment. Silhouette photos express shapes, emotions and mystery and, contrary to what many people think, it’s very easy to take. . Photographing the silhouette of an object, or a person, has few colors, textures, and a sense of depth. To make this type of image, the photographer will only need the camera and something with a well-defined and well-known outline, so that the image can convey a message.
Before you start preparing silhouette photos, you have to understand that this type of photography is more artistic than informative or portrait, that is, these images do not transmit information, but feelings and emotions. The main message you intend to carry with a silhouette The photo is a mystery. Drama, sadness, joy and the most intense feelings can also be represented by an image of silhouette. This will depend on the framing and colors. A silhouette photo will also force the audience to focus their eyes only on the main object, it is important to focus on it and not put other annoying elements in the same field of view.
- To photograph silhouettes it is necessary to choose elements with well-defined shapes.
- There is no point in photographing a confused figure.
- Because those who see the image will not understand what it is.
To take this type of photography it is necessary to pay attention to the flash and the type of lighting. It is essential that the photographer understand the principle of silhouette photos because they will have to adapt it to different lighting situations, whether they are natural or artificial lights. In this case, there is only one rule to follow: turn off the flash. When taking a photo of the outline of something, the concept of lighting in the photograph should be reversed, since the main element of the image, as opposed to being illuminated, will be “hidden”. In normal photography, the lighting is frontal. In contour photography the opposite occurs, the light must come from the background because the distribution must be clear and the main element dark, that is, the positions are reversed. This happens when the machine cannot compensate for lighting like the human eye can. When looking at something against the light, it is possible to see the object correctly, all illuminated. The camera cannot do this. When there is a large amount of light behind the object in front, the sensor cannot compensate for the illumination to decrease the brightness in one place and increase it in another. Therefore, to obtain the result of silhouette photos, it is enough to illuminate the main element of the photo from back to front. To achieve this type of image, the light source can be varied: an illuminated wall, an open window, an artificial light source, the sunset, among others. The only trick is to be in a less lit place and have the main element of the picture lit upside down, as mentioned above.
Knowing how to position what will be photographed in a silhouette is as important as lighting, it is necessary to choose the best angle to highlight the shape of the object, or the person, so that the images of the silhouette stand out correctly. when photographing a person, it is preferable to be a profile to highlight details such as the eyes and mouth. When it comes to photographs, silhouette photos of two people, it is important that they are not too close to each other so as not to stack all the contours, so that the shapes are confused. In these images there is almost no depth of field, all the elements will appear to be at the same distance from the photographer, so it is important to separate everything so as not to confuse them.
Manual mode and automatic mode allow you to take contour photos, the choice will depend on the photographer and the secondary settings are simple: photography with a low ISO, so as not to make the photo too sharp. As for the focus, if you want to keep the outline well delineated, make sure it’s the one that’s developing in the digital camera.
In manual mode, in addition to ISO, you should think about speed and aperture. Set an average shutter value, based on the amount of ambient light. Values that are too high, that is, when the shutter is closed, will darken the image, and too low values will cause the image to explode. As for the shooting speed, you can adjust it faster than the photometer asks for. This will allow the camera to capture the light parts and leave the shadow well marked.
The disadvantage of shooting in automatic mode is that new cameras have better lighting compensation systems than before. This can be good for “normal” photos, but it can alter the contour image, which requires contrast. To do that, you’ll have to deceive the House. Like focus, light measurement occurs when the shutter is released mid-run. To trick the DSLR camera, point the lens at the clearest part and press the shutter mid-run. Without removing your finger from the button, put the lens back into the original frame and take the final photo.

