Making time-lapse sequences may seem a little complicated at first, but things get even more complicated when you try to film a time lapse that takes place overnight.
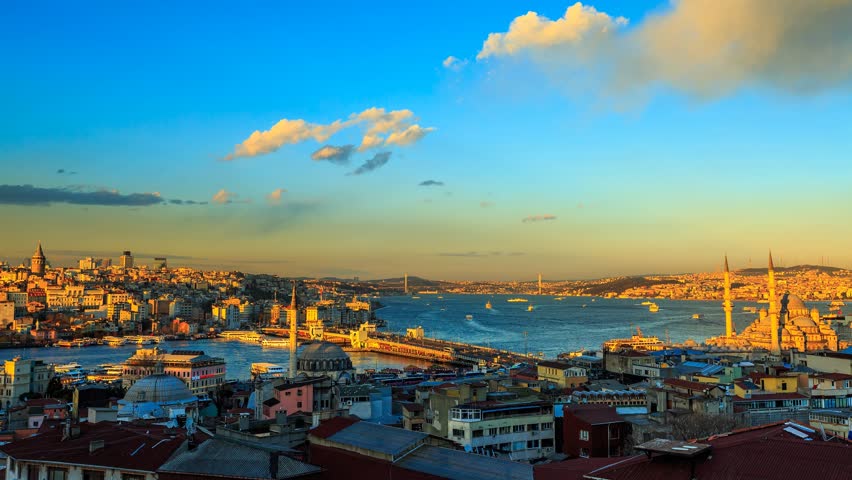
The big obstacle you’ll have to overcome in order to make large time-lapse cinematic sequences at night (or vice versa) is to adjust the digital camera settings according to the change of light, such as sunsets. Beyond the horizon. So, to help you make a time-lapse video, we found a very interesting tutorial. This tutorial will show you how to prepare to shoot, what to do while shooting and what to do next when editing this kind of time-lapse challenge. This tutorial was lovingly produced and distributed by Cal Thomson. Watch your helpful tutorial in this video.
Here are the tools Cal used in his tutorial
Professional lens Tamron 24-70 mm IS 2. 8
Adobe Lightroom
Timelapse LR
This time-lapse tutorial is quite simple, but here are some things to keep in mind when preparing to record a time lapse that goes from day to night:
Get the right equipment
Actually, this may be a little obvious and you don’t have to say it, but you’re recording a time-lapse video without the right video equipment, right?Get a tripod strong enough. Getting an intervalometer, a small device that counts, pauses. No one wants to take over the camera (after all, these are recording hours), count the intervals, or risk overturning the camera by accidentally pressing the record button (that’s because it’s going to turn the camera when you press the record button, and that, for sure, will ruin your big shooting moment).
Take enough time to make adjustments
Most time-lapse sequences allow you to more or less set the settings and forget about the camera, but if you’re shooting at night, does that mean you have to deal with light changes?That is, you must change your exposure. Set your intervalometer where you have enough time to make the adjustments you need, but don’t take the interval so long that much of the action is lost. Cal sets his in 10 seconds.
Head to powders to soften exposed heels
As Cal mentions in the tutorial, as your exposure changes, you will see some “jumps” in the image. To give your time lapse a cleaner, more sophisticated look, without these jumps, open any later program you use (Cal uses Lightroom) and adjust the settings to match the exposure of all your images. Cal manages to avoid editing more than 800 images. images individually, using an add-on called LR Timelapse. With the metadata of your “Holy Grail” workflow, you can access Lightroom and see which images need to be modified, rather than guessing or, God forbid, smooth the transitions in each of your images.
See also our article :?How to edit photos in Time Lapse?
Do you have any tips or tricks for filming a time-lapse that shoots overnight or vice versa?Leave your opinions and suggestions in the comments below!