Today’s publication is dedicated, as its title suggests, to explain how to make a (extremely) net portrait, but before continuing, I would like to warn you that it is not reaching the maximum sharpness that you will get the best portrait, your image of course will be sharper, but not for that, it will be better. There are many factors that will help you create a great portrait and you can read them here. Now, if what you’re looking for is sharpness because you already know everything else, go ahead, you’re in the right place, will you take note?
And since we’re not professionals here, nor are we learning through unfounded science (aren’t we?), I’d better say it step by step, to make it very easy, okay?
- It’s true that the team affects the sharpness of an image.
- But you shouldn’t be obsessed with it unless your bread and your family’s bread depend on it.
- You don’t take better pictures because they’re sharper.
- In fact.
- You can capture an extremely sharp and totally unre interesting image.
- If it’s “empty.
- ” no one will notice.
- That’s why you don’t have to worry about changing equipment.
- Enjoying the one you have and making the most of it.
- Changing only when you really need it.
- To get the most out of what you’ve got.
- Keep it clean (it’s time to give it an update).
- Use a fixed lens if you have one.
- Configure your camera settings (I’ll explain how later).
- And follow the steps below.
For a sharp portrait, you’ll need good light and I’m not talking about a strong midday light, I mean a proper light. I always advise you to use natural light whenever you can, however, today, as we try to get the most clarity, I will tell you that if you have a flash (or more than one), to use them, I don’t know that I try. to close the doors, but to open them, if you have a beauty plate, a luminous window or a pocket flash, use them to illuminate your model for clarity, if you have several of these elements, you can combine them and play with them to get the result that satisfies you the most. Here’s a guide to illuminating your portraits.
One of the biggest enemies of sharpness is movement, so you have to avoid it at all costs, on the one hand make sure that your model is static and on the other hand it minimizes camera vibrations, how?
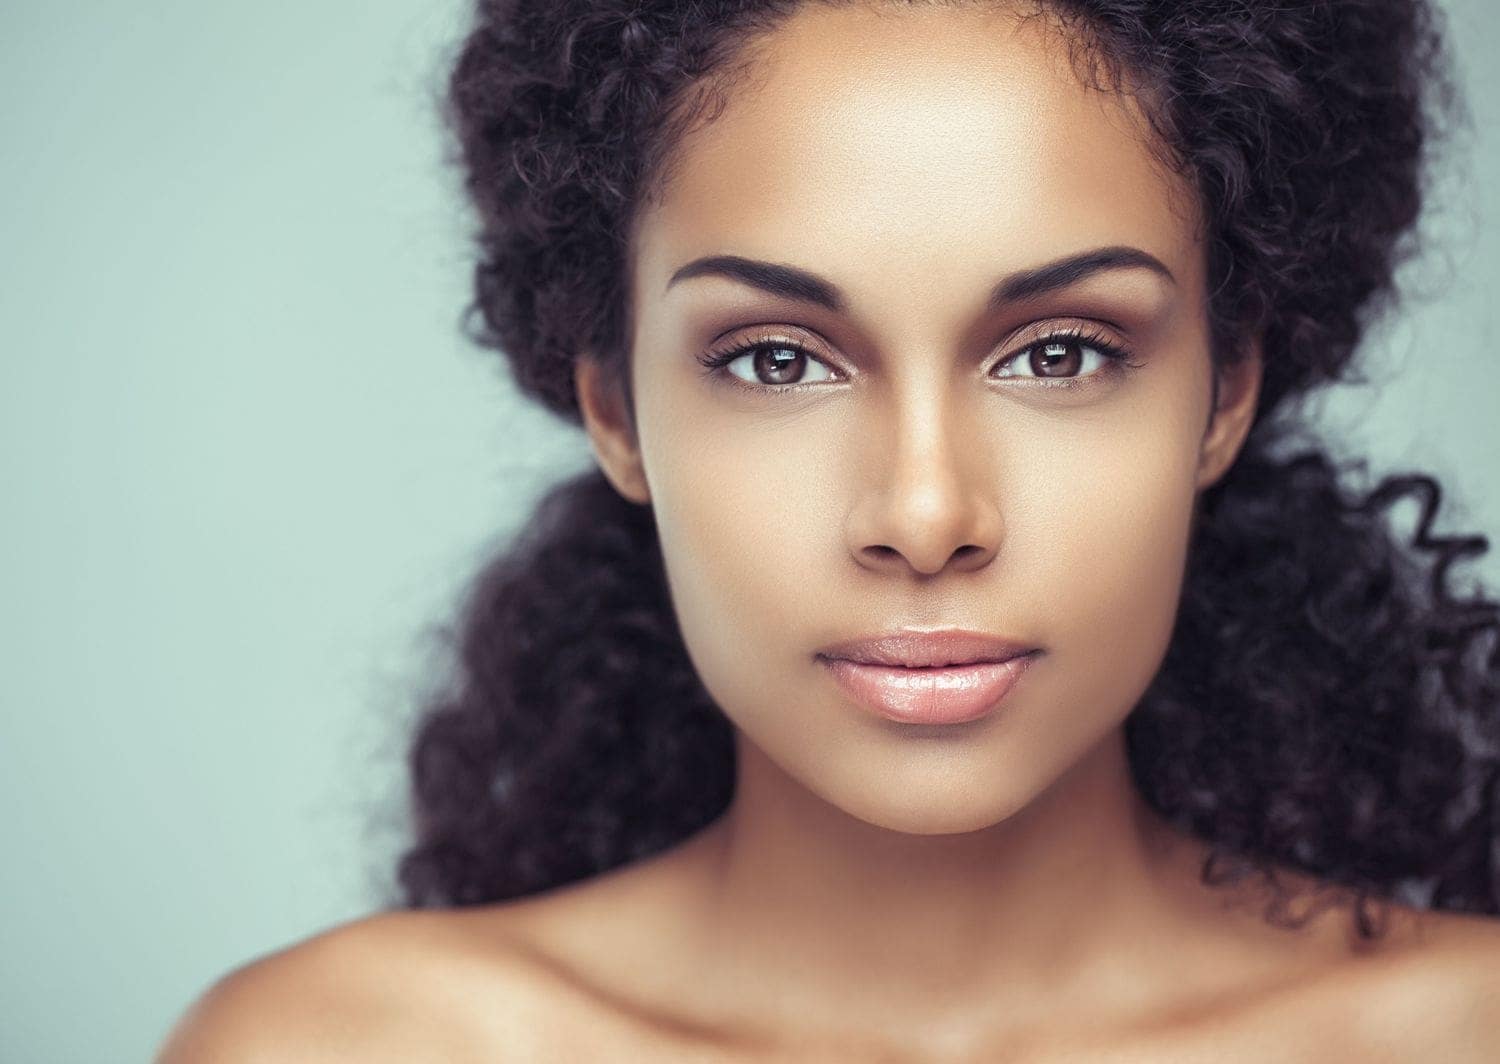
Use a contrast background to make sharpness even more apparent. Notice in the following image how the hair is released in the background.
On paper (or on screen) everything seems very simple, but when you do the test you may not get the desired results, do not despair, you must practice, only practice will help you improve and achieve excellent results. The satisfaction will be so great that you will discover that every effort is worth it.
All you have to do is look for a model that lends yourself, the simplest of all ?, while you think about who will be the unwary who will stand in front of your camera, I will ask you for a favor: if you found the article interesting, share it and / or give it a “Like”. This is the best way for us to find out if you like the content and encourage them to keep writing it for you. Thank you and soon!