In today’s article I will tell you how to create your own preset, as always, in a very simple and step by step, I also explain its benefits and risks and how to import them.
An article with everything you need to know about presets, read on!
- The preset is simply a set of development configurations that you can apply at the same time.
- With a simple click.
- Simple.
- Isn’t it? The name is always scary.
- But it’s very similar to applying a filter like the one you apply on Instagram or any other app.
- Although with a big difference.
- Once you apply the preset.
- You can (and should) keep applying the settings.
In addition, filters are what there is, there is a greater limitation, the good thing about the presets is that you can create your own, which is the main theme of this article.
Presets or presets save a lot of time and effort. They greatly improve your workflow, reason enough to use them; We already know that most of us don’t have enough time to waste it stupidly, do we?
On the other hand, presets can help your work have an aesthetic consistency to improve your own style, they can also help you regain that same aesthetic coherence in a specific work or project.
Another utility when creating a preset may be, for example, to automatically correct distortions of a specific lens.
In the following image, you can see a comparison of an original image and the result of applying a preset. One click.
The presets are of course very useful, but keep in mind that they are also not miracles, let’s see what mistakes are usually made with them so as not to fall into their trap:
Knowing the benefits of presets and their risks, let’s now see how you can create your own, you can create as many as you want.
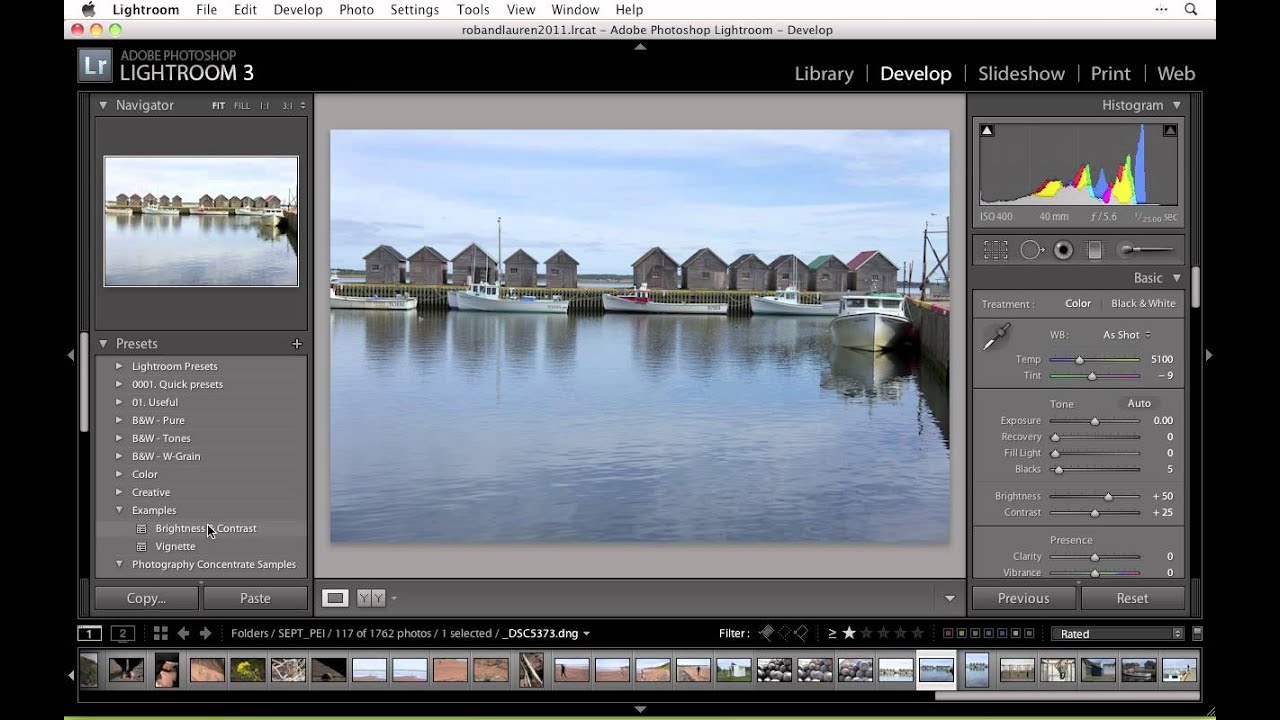
Choose a photo in the Library module to which you want to apply adjustments, a photo of the type of images you usually take.
Apply the settings you want to add to this preset, that is, the ones you want to apply to certain photos with a single click. In this example, I’ll apply the basic settings I usually use for rapid development. You can see them on the right.
As you see on the front and then the photo changes, comes to life but without big changes, it’s an evolution of the most natural, even if it improves a lot, here you can apply other kinds of adjustments if you want (curve, tones, color division, color?), what doesn’t make much sense is to apply filters because local changes don’t interest you anyway to save them , but you can create presets as elaborate as you want.
There is a symbol next to Presets, tap it, and from the pop-up menu, select Create a preset.
A window will open in which you will have to give a name to your new preset, you must also place it in the group in which you want it to appear, in my case I leave it in user presets but you can see the Indico arrows and choose another folder.
Here you can also select or deselect the settings you want to save. As you can see, local settings (filters) are not checked.
If you do not click the Create button, it will not be saved, short step, easy but important?
You can now find your own preset in the folder you have chosen
The next time you want to apply these settings, simply click on them and all the settings you’ve decided to include will be applied automatically. Easy, isn’t it?
And don’t forget to finish the development with the latest specific settings that the image may need.
Whether paid or free, when you find the presets you want to add to Lightroom, you need to follow these steps:
1. Download them to computer and copy them (Ctrl C, right click or as you prefer)
2. Open Lightroom Road – Preferences
3. In the pop-up window, select Presets and select View Lightroom Reveal Presets.
4. Open the Develop Presets folder.
5. Stick presets (Ctrl V or whatever is best for you)
6. Close Lightroom and reopen it, which is a restart so that new presets appear when you reopen it.
If you like videos better or have any questions, here’s an explanation from Mario on how to download your presets on Mac and PC.
Once you have your presets, either created or downloaded, you can move them to the folder where you want to have them better organized.
And so far today’s article. I hope I helped you unravel the predefined world, which as you can see is not so complicated, the most complicated thing is to decide which preset to apply at any given time for each photo, right?
If it’s been helpful, don’t hesitate to share it on your favorite social network. Other contacts will also benefit from this information and I will feel that this work has been worth it. Thank you and soon.