Mario’s note: Light painting is just one of the many ways and techniques of representing interesting things at night, Vicente Nadal today offers us a basic introduction to night photography in general, reviewing the basics that will help you take your first steps in this type of photography.
Surely you have seen these stunning night photos of landscapes, cities or stars and nebulae on several occasions and have a huge desire to take pictures of this style?But when you tried it, you thought it was too complicated.
- This is the article you were waiting for.
- And not because I wrote it.
- But today I would like to introduce you to the fascinating world of night photography as God wanted.
- Believe me.
- The difficulty you seem to have is not so serious.
- First you must know and master certain concepts (that’s why I write and read this).
- But the visual result of such photographs is tremendously rewarding.
- Worth it.
- Are you checking in?.
First of all, it must be said that the topic itself is broad enough to dedicate a complete blog, how important is night photography?My goal with today’s article is to help you lay the foundation for good learning by exploring some basic concepts that we all need to master before embarking on this type of photography, concepts that, once mastered, come the rest.
Do you know that to take pictures you need light and that your absence is our worst enemy?But strange as it may seem, there’s actually always a little thread of light.
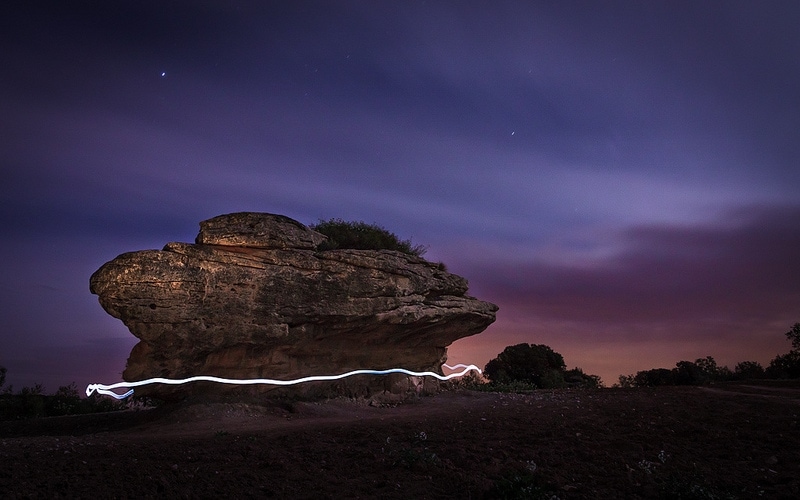
In this article we talk about night photography? But how at night, because it depends on what you want to photograph, if you want to photograph buildings of the city and have something trimmed on the horizon, the best time is the so-called blue. The blue hour is when the artificial lights of buildings balance their intensity with sunlight. For the needs of our eyes, it seems to be the day, but in the photographs the result is a night photograph. A perfect example is my photograph, of the Emisferic of Valencia taken in this strange time when the lights are balanced. If you want to photograph the stars or the Milky Way, you’ll need a little more darkness. In addition to the fact that you have to take the photos at night, you can’t take pictures near a big city because the light pollution it produces will prevent the camera from seeing the stars well, which means, of course, that you can’t take full moon photos or not.
You don’t need special equipment, but you should consider a few things:
This is perhaps the hardest part since night photography is done with low sensitivities, 100 or 200 ISO maximum. Ideally, get the exposure as close as possible the first time without taking many long-exposure photos that will overheat the sensor. this, we start by adjusting a very high sensitivity, opening the diaphragm to the maximum and calculating exposure to the sky. Supposing for ISO 6400 yf / 2. 8, this gives us an exposure of 30 seconds, using the reciprocity table, let’s have the following:
If you plan to photograph with a more closed aperture, f/4 for example, you will need to continue increasing the exposure, doping it for each opening point you close. If we have a portable flash and adjust it to illuminate objects close to ISO and f/2. 8, we can create spectacular photos. Zooming in or out of the exposure can make the sky lighter or darker.
A few more tips to get your night photography session right
Are you sure you already want to run tonight to take pictures while you read this article?Before, please give me a minute and leave a referral vote and share it with your friends on Facebook, Twitter and Google. Thanks to those who share it, can I write this article?