A few days ago Mario launched a survey on the topics you missed on the blog, well, among many others, two were very recurring in your orders: lighting and macro, you are a very important part of the blog and we are all listening to their requests (that’s why the survey, of course). This is the first item that comes out of the oven at your request. And this time twice, I’ll talk about both lighting and macro. Throw the house out the window!?
The macro is usually a great unknown to the beginner photographer or something like a topic that appeals to you, but you see it inaccessible right now, this happens because macro lenses are usually prohibitively priced and the fantastic and extremely inexpensive alternative is not known: liner rings and extension tubes.
- Why combine these two themes? Well.
- Because the lighting of photography is always important.
- Now you know.
- Am I too heavy?What I don’t know if you know is that macro properly controlling lighting becomes even more necessary.
- A macro must be well lit.
- Yes.
- Or yes.
- In another type of image.
- If something is underexposed or overexposed.
- It can happen if there are other elements that gain more force or if this excess or lack of light has become a creative element of the image.
In macro this does not happen, for the simple reason that this type of photography is based on small details that are appreciated only with the right light, you will understand after reading this that adequately illuminating a macrophotograph becomes indispensable.
But in addition, light becomes vitally important for other reasons
Well, you see these reasons enough to pay close attention to enlightenment, don’t you?Well, let’s do it.
It is not the same lighting in the studio as if you go out to photograph insects and plants in the countryside, nor is it the same to do a portrait in the studio as in the street. about study options, why will some of them be useful outdoors?
Of course, I’ll skip your camera’s built-in flash because it will cause you more problems than solutions, especially if you use extension tubes or similar. Of course, if you don’t have a choice, you can use an invention. Similar to this, yes, you’ve seen it, it’s a bottle of Pringles potatoes, these are so addictive that they must be really harmful to health, but what it’s like to light macros is a great alternative and the most economical!In the link, the author explains how to do it and on YouTube there is usually some other tutorial like this that explains how to make a diffuser macro with the Pringles bottle.
Ring flash. The annular flash is a ring designed to be placed around the lens, it is the one that is most associated with macrophotography and ideal when you want to avoid any kind of shadow, what happens is that the complete removal of shadows will also leave the image a little flat. In this case, you have to decide what you’re looking for or what you need. Here’s a cheap one, make sure the one you’re looking for is compatible with your camera. You have more options here. Warning, this flash will be useful for macros or very close objects, but don’t you expect me to take you out of other problems at a greater distance?
External flash. Surely this is the most versatile option you can find, you have them of different power and you can use them several times besides the macro, of course they are not all advantages, it has a main drawback, its front position, but I have good news (or two).
You can bounce it off another surface: a white wall, a reflector or even the ceiling, you should know that this way you will lose power, although if you are looking for diffuse light, this is your method?very affordable price.
You can also use an extension cord to direct the light to where it works best for you.
Double flash or double flash. We are already moving away from economic recommendations.
The price of this flash goes up a bit, even if its motifs have to cost more, if it is to start is not the best option, but if you are already in the depths of the macro and instead of going out you need to dive more. And more, this may be your choice, as it is the best for macro photography. It has two heads connected by a clamping ring attached to the lens you are going to use. Due to the proximity of the subject, the quality of the light is excellent and, in addition, this proximity makes the source appear larger than the object or photographed, thus obtaining a soft light. The main difference with the annular flash is that you can point the heads in the desired direction.
Prolonged exposure. (Not suitable for insects, other living things or any moving object?). I think it’s obvious why there’s no point in moving, but just in case I clear up. Prolonged exposure involves opening the shutter longer in order to bring more light. . If during this time your main character moves, goodbye to the photo, that is why I highly recommend using a tripod.
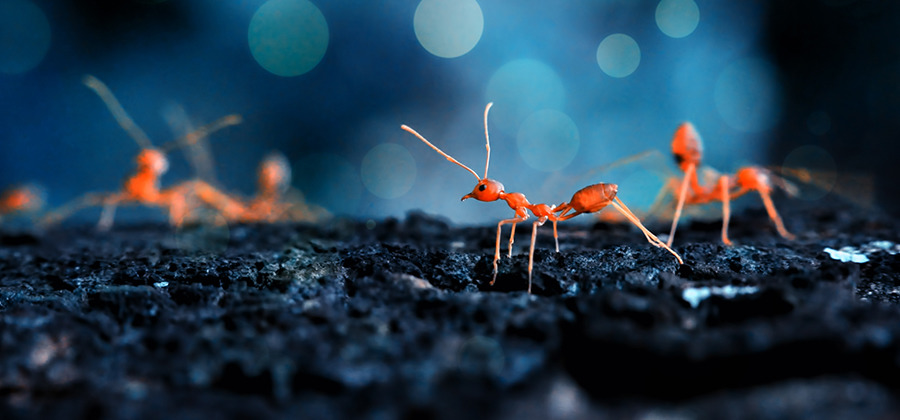
If you go out into the field in search of small living beings, whether they are insects or plants, you will have a great ally: natural light. But of course it’s not always perfect and you need to know some tips to get the most out of it.
What time is it better?
If what you are looking for is that the insects are calm, that the plants have the morning dew or a backlight that highlights some hairs or highlights all the beauty of the wings of a butterfly, it is better to opt for the first and last hours of these they are the most recommended moments in photography in general. Disadvantages? That you lacked light. In this case, you must use one of the options from the previous section or reflectors.
Similarly, a cloudy day, so recommended for other types of photographs, can cause you problems here, chances are you need an extra lighting, remember that it is a macro, you can not miss the details or you will lose most of its appeal.
What about the midday light? Well, although it is very difficult for another type of photography, this effect is not so much here, the subject is much smaller so the light is not so punctual, so noon is not such a bad time for macrophotography. you have excess light, you can always use a diffuser or reflector to fill the shadows. You don’t need a big one, remember that we’re talking about tiny patterns, a tissue, a cardboard or a tetrabrik can serve you perfectly.
Artificial light
Outdoor artificial light will not only fill the lack of natural light, but can also help you fill shadows or improve textures. You can combine natural light with artificial light, or even multiple light sources combined according to your needs to highlight your subject and all the small details that make up it.
Finally, I appeal to your inner light, which motivates you to create, photograph and get excited about this art, without it no other light will suffice.
And remember, if you don’t practice what you read will be useless, the best thing about the macro is that you can practice it without leaving home, you no longer have excuses, get the camera now!
However, before asking you a favor, if you found it helpful to read this, share it on your favorite social network, Facebook, Twitter or Google. Thank you a thousand times and until our next photo date!