Any flash camera is one of the most used daily by most photographers, however, the most difficult way to achieve satisfactory results and not compromise the final image with a swipe.
In this photographic method there is quickly a large burst of light that freezes the scene and keeps it illuminated for short seconds, however, it is necessary to set the best distance for its exposure, the most suitable type of flash, know the flash rebound techniques. , adjust the light and exposure and finally how to combat the dreaded red eyes in your photograph.
Here are some tips for making your flash photography a success, getting the best results on your images.
Although the built-in flash camera is one of the most common ways to take pictures with this extra accessory, there are several flash formats, each with its own features and recommended use.
Built-in flash camera: The first, the camera with built-in flash, although its use is more widespread and is in the hands of the photographer, does not allow the use of more advanced techniques, such as typing, for example. .
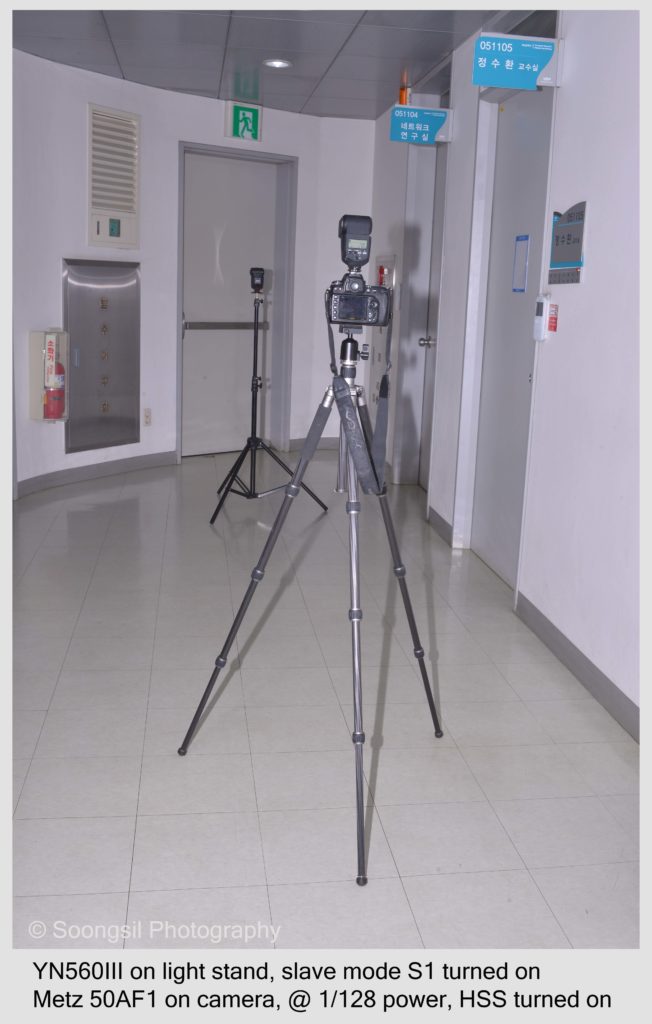
Camera with external flash: With the same freedom as the built-in flash, it allows you to correctly position the direction of light and the angle of reflection.
Multiple Flash Camera: Using multiple combined flashes, the photographer can create his own multiple flash system, with which it is possible to take many more photos and provide better lighting to the scene.
Camera with circular flash: They are most often used in macrophotography or capture over short distances, bringing minute details to the image, helping to obtain shadows, which can be more difficult with normal flashes.
Camera with large flashes: this equipment is more professional, being found several times in the photographic studios. The digital camera is connected to flash generators, which are fixed in several directions through a head.
The distance to the best exposure when you want to capture images with a flash camera is extremely important to determine the success or failure of your work. If used correctly, it can mean devastating photos, but the opposite can launch your efforts for a good image. in the water.
Fortunately, not everything is lost! You will be able to determine the best exposure distance using a simple formula, for this you will need to know the guide number (or G) of the flash of your DSLR camera.
The guide number refers to the strength of your camera’s flash, in other words, it refers to the distance you can illuminate with your flash. This number can be discovered by using a photometer in the f/1 position, by the way, the most appropriate method for this task.
However, since not all photographers have a photometer in hand, you can also display the G number of your camera flash in the instruction manual of your photographic equipment. This information is presented by the manufacturer, but in most cases it does not mean the actual number due to variations in the environment, but it can be equally useful.
Let’s move on to the formula: No G / opening (f) – distance to the ideal exposure. However, this simple calculation takes into account the basic settings for shooting with your flash camera. For best results, you should consider your own environment and photographic environment.
In some cases, the photographer uses indirect light from his flash to get better images. This little trick is mainly used to avoid shadows and side effects produced by a camera equipped with a flash.
There are several applications of folding techniques and each will give different results, among which stand out: wall folding, folding reflective panels and ceiling folding, let’s look a little more at them below.
Wall bounce: The scene lights up sideways with a light reflected on the wall, giving clearer photos.
Reflection of a reflective panel: with this technique the photographer completes the lighting of the scene, directing the light to the darkest areas.
Bounce to ceiling: Wrapping the scene with reflected ceiling light gives more natural images, however, the color of the ceiling can spread with the lighting, which directly affects the final result of your photo.
The flash at its normal intensity brings darker photos, so you need to adjust your exposure to get a composition in harmony between the background and the main subject of your photo.
For best results with your photos, setting flash exposure is to increase or decrease the brightness of the scene, as it is done under normal exposure conditions.
By correcting your flash exposure normally, you get more natural images, where the scene is properly balanced with the background. Without this correction, can you take a chance? Halo? In your photos, with a reduced fit, in turn, it brings very dark photos and a considerable loss of shadow details.
Red eyes are like pests on a plantation, you’ve heard of them, but you don’t want to go through them at any time. Red eyes appear in photos where the flash camera directs light directly to the person photographed. The camera flash is triggered, which happens extremely quickly, the pupils contract and veins of blood appear in your photos, hence the reddish color.
The best way to combat red eyes when using your camera with flash is in the typing techniques we saw just above in this article, so that the brightness of the flash does not reach your subject’s eye. Other photographers also use preliminary flashes for students to contract before pulling the trigger, giving the eyes time to “prepare. “for the photo.
Alternatively, you can also resort to post-processing, especially when you can’t apply other tricks to combat red eyes in your photographic style.
Finally, we’ve reached the end of our tips to make your photos successful with a flash camera. Share your opinion about the article in the comments field below, or tell us how you use your flash camera.

