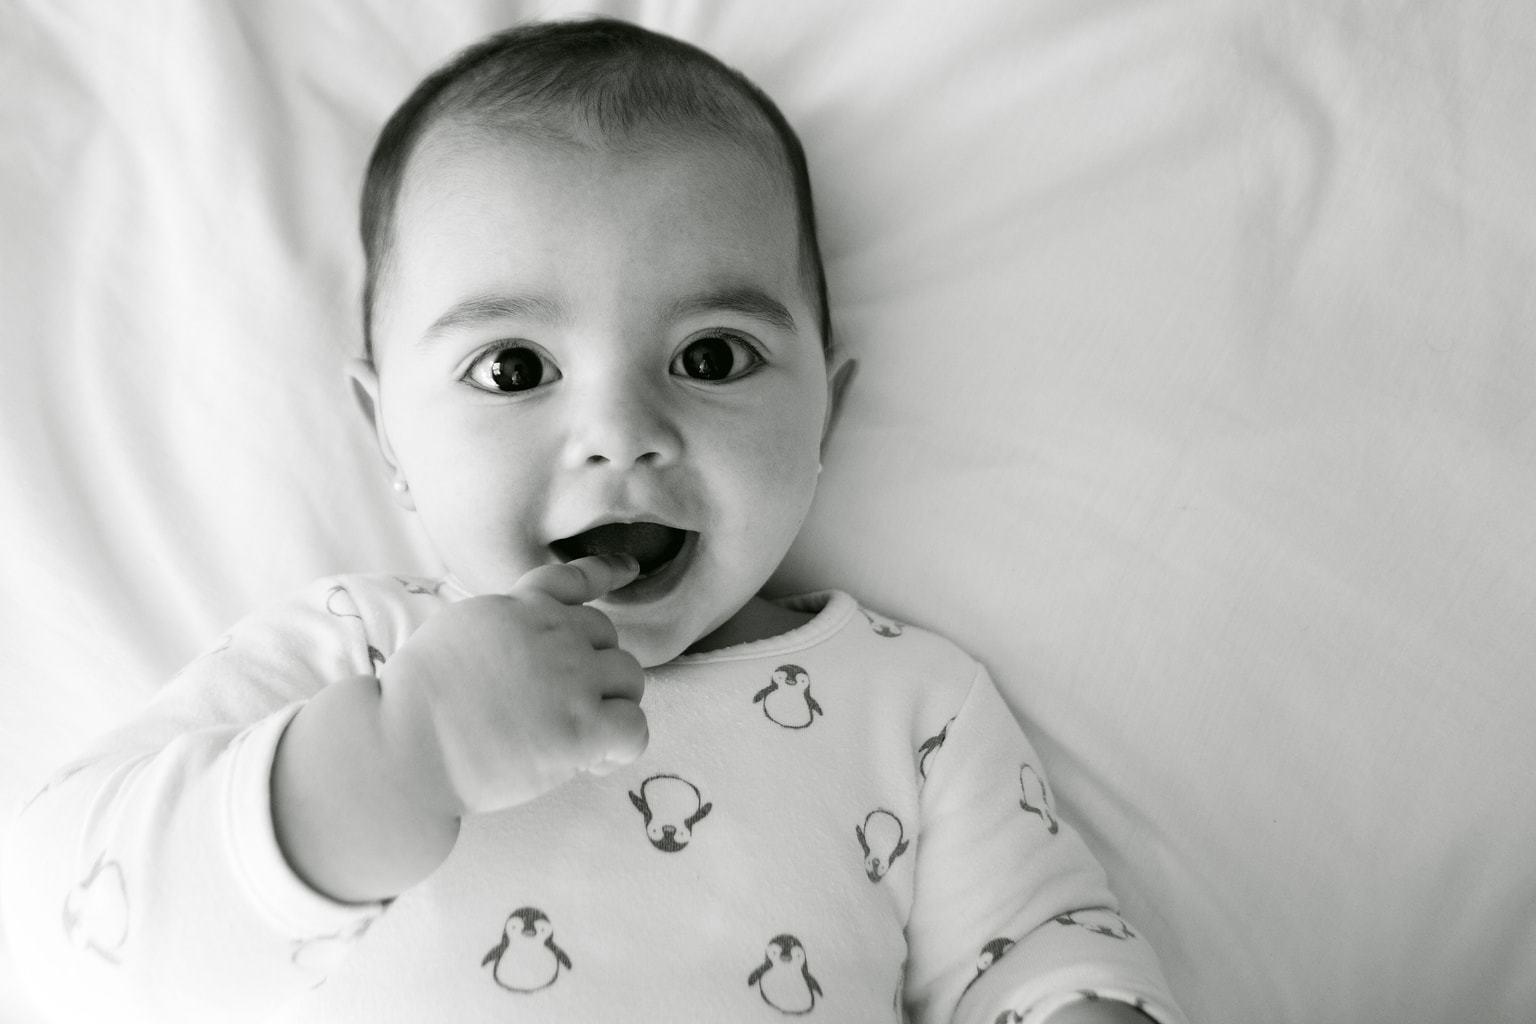
He fell into the black-and-white net. I know, it can become inevitable. Black-and-white photographs seduce, catch. Whether for its authentic character, without ornaments or flourishes, for its timelessness, its romanticism or its nostalgia or its ability to transmit the essence of moments. There are many reasons, and everyone has No matter why you got caught in black and white, what matters is that you convert to match your image. How? Well, there aren’t as many modes as there are reasons to fall in love with gray levels, but there are several, today I show you and tell you how they work, Photoshop, what in Lightroom my compi Alexa told you here.
Although I tell you first, if you have the ability to convert to black and white from Camera Raw, do so from there to get the best image quality and versatility it offers you, now this article deals with cases where this is not possible because what you have in your hands is a JPEG or other format not compatible with Camera Raw.
- First of all.
- No matter how much you fall in love with black and white.
- You should know that you can’t use it at any price.
- That is.
- No image is worth leveling gray.
- Some photographs rely on color or contrast.
- Or even other features.
- But disappear the moment you erase them.
- That’s why it’s important to know first if your image is black and white.
- If so you can do the conversion.
- If you have any questions.
- Here’s an introduction to black and white photography.
And if you have any questions on the ground, you can use the monochrome option in your camera. But be careful, just to get an idea of how black and white it can look. If you like it, shoot in color so you don’t lose the information you need later.
For the very purist purists of the “non-editing”, in case someone fell here and refused to change because the photo is taken with the camera and not with the computer, I want to clarify something, it is not the same edit as retouching .
I am also in favor of taking photos with the camera, but it is inevitable to make some adjustments in a later edition. Before, when they were analog photos and we took them to the lab to reveal them, they did too, but we didn’t know. Now we are turning and revealing, so we have to do this part which consists of adjusting, for example, exposure, contrast, tone, etc. It’s not retouching or distorting the photo, it’s doing the job well done And if you like the result directly from the camera, it’s perfect, but otherwise, don’t let your hands shake to adjust the necessary settings.
Now yes, let’s go to the simplest conversion modes with this photo
If you follow Image’s visit? Quiet Setup, you have a quick and easy way to convert to black and white. The most direct.
The result of these steps is:
From there, you can make the adjustments you deem necessary to leave the image to your liking, because remember, there is no magic editing formula, there is no mathematical formula, each person will edit the same photo in a different way. In addition, you’ll also change it differently depending on the time, mood, type of photo or use you want to give it.
Is there also another pretty quick way to desaturate which is Image?Hue and Saturation Settings
In this case, you’ll need to move the cursor to the far left. Unlike the previous mode, you can choose the degree of desaturation. If you want it to be almost black and white but not quite, this may be your choice, as you can choose the amount to desaturate.
And with this method, it would look like this
As you can see, the difference with the previous step is not very obvious, the difference is the ability to graduate saturation in this second option, that is, if you do not want to completely desaturate, follow step 2, another difference is that you can select the colors with the drop-down menu or with CTRL (the number of color) and move the brightness cursor to adjust it as you see fit :
It can also be desaturated by tones but in this image, in particular, the differences are not appreciated because it is already monochromatic enough.
In this case, following the Image Way?Mode? Gray levels, you also get a similar result. This option is exactly the same as shooting in monochrome from the camera. You lose all color information and if you want to continue editing, you can lose it.
And the result with this mode
On the surface, the difference with the first two options is that it is less bright, or perhaps, it should say less burnt; pags.
Here you start to have other adjustment possibilities with the path to the image?Setting In black and white appears a table in which you can play with the different colors of the image, which directly performs a “default” conversion, like the one you can see in the screenshot image:
You can press the automatic button, which will give you another image:
Or you can move the different cursors to the right and left until you find the best values for your image, and when I talk about better values, I mean the ones that give you the result that satisfies you the most, because there is no written rule here.
Another option is to use the presets
If any of these settings suit you, it’s perfect, isn’t it?
Is the road here Image? Channel Mixer configuration. You should click on the bottom left of the box that says “Monochrome” and the image will appear in black and white. From there, it’s time to play with the sliders, making sure they add up to 100 so you don’t find an unflattering result.
Here are two examples where all three channels add up to 100
You can also view the “Preset” window and choose one, as in the following example:
This is the result of converting in this mode without touching the channels, simply leaving the one proposed by the program:
One last option a little less simple but also simple is to create a gradient card adjustment layer, we see it step by step. First, create a layer, click the icon surrounded by red, and when the drop-down list appears, click Gradient Card.
Now, on the PROPERTIES palette, click the degraded bar
A “Degrade Editor” dialog box opens and a cursor appears. The image may appear very light or very dark, do not worry, click on it and the “Color Picker” will appear:
Select a gray tint on the left edge (red arrow) and press OK:
Back in the gradient editor, drag the triangular cursor left or right until you find the desired image. Doesn’t seem that hard, does it?
One last option, you can reduce the opacity of the adjustment layer to retrieve some of the color where it indicates the red arrow.
And one possible result with this last conversion option would be
Here are the six easiest ways to convert an image to black and white. From there, you can continue to edit and edit the image as you see fit, in terms of exposure, contrast, color temperature, or even sharpness.
You can also create your own action and apply your favorite settings with a single click.
There is no recipe to follow to the letter, because each image will require a different edition and, as I said before, each edition fits your tastes, I like the last option (now I will change it differently tomorrow).
Of course the image has aspects to improve, such as noise, but as an example I think it worked;). Now I leave you a collage with the six results that together look better the differences:
Was it useful or interesting to you? If this is the case, I ask you to share it on your favorite social network so that more people can benefit from it. And if you want to make a comment, you will be welcome, thank you very much!