Last week I proposed an interesting exercise of living one day, photographically speaking, without accessories, my intention is not that without the use of accessories, but that you learn to live without them at some point, it is not a matter of abandoning them for life, quite the opposite. For example, today I bring you 3 add-ons that should not be missing in the backpack of any amateur photographer. From my arsenal of add-ons if I had to keep only 3 items, these would definitely be .
As you may have understood, this is a subjective and personal article, other photographers will recommend other accessories, and all recommendations are respectable, but after so many years with the camera that accompanies me everywhere, after many photos, some failed and others successful. , today I present to you the 3 accessories that helped me the most to improve my photographs and that have influenced me most positively, both in my habits as a photographer and in my photographic results.
- Since the day I discovered the benefits of filters.
- I have had some.
- Attached them to my goals and almost never deleted them again.
- I’m sorry about the moment I had a DSLR without filters.
In my case I mainly use the polarizing filter, in addition to the protection it offers to the lens (against dust and scratches), I use it mainly to contrast the sky and clouds when photographing landscapes, reaches a level of contrast and saturation very difficult to imitate in editing and post-processing programs like Photoshop.
The other filter I use is an ultraviolet (UV) filter, also known as a Sky filter. This is the one I use when I want to get a totally neutral photo, no effect. UV filters are mainly used to protect the lens from dust and other factors that may damage it, without altering the light visible to the human eye.
If you are thinking of getting a filter for your lens, you should consider the diameter of your lens, the same filter works for any lens, regardless of the lens brand, as long as they have the same diameter. diameter of your target? Look at it The lens diameter is usually inscribed on the same lens, represented by the symbol.
In this example we would look for a 77 mm diameter filter as it clearly places it on the edge of the lens as you can see, eye, in yours this information may appear elsewhere, on the side or on the back, but usually appears with this symbol you see.
It gives a lot of rage when you have to erase what was going to be for you the best photo of the session or excursion because it was too underexposed or too blurry, in most cases you end up resigning yourself and deleting the photo, sometimes you can fix it on the computer by means of further processing, but the result is like a stick.
The tripod is your best protection against blurry or dark photos, with it there is not a single situation that resists you, being able to stabilize the camera on a good tripod allows you to shoot in manual or semi-manual mode, and play with very slow shutter speeds. The result is a clean, clean, stable and luminous photograph.
2 things to keep in mind when buying a tripod
My favorite tripods:
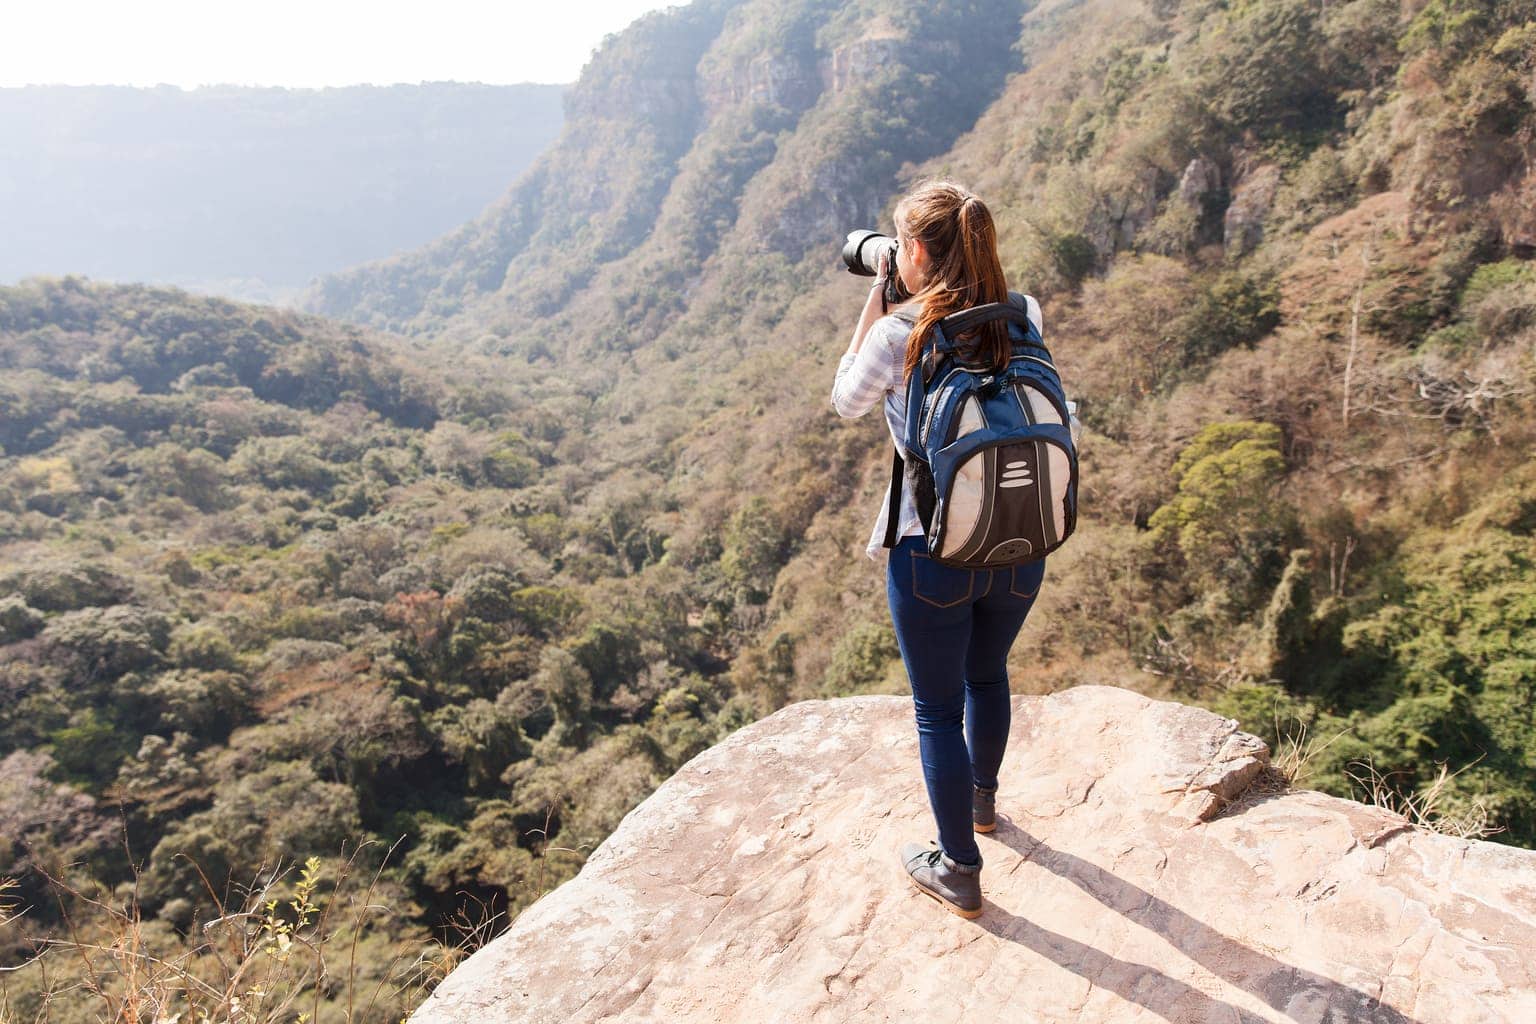
At first, I put flash on it, it’s one of the first accessories we normally think about, but I don’t dare call it “must have”. Only in certain situations. However, a backpack is fundamental in the life of any photographic equipment, whether professional or amateur photographer, a backpack will accompany you on all your excursions and photo outings, protect your equipment at all times, even when it is at rest, and above all, if you choose a good backpack, it will allow you to take better photos. What? Yes, as you read. You take better photos when carrying a good backpack, comfortable and ergonomic face to shoulders and back, accessible, easy to open and lightweight.
In the past I had the opportunity to try to use backpacks for a while that were a real Hulk, I will not cite the mark out of deference and will not generate bad vibrations, but only the backpack weighed more than the camera and lens together. , the design was ridiculous, it was so deep that when you put it on your back, you almost fall backwards, imagine walking like this. I’m supposed to think and create pictures like that. . . ?!
If you want to buy a good backpack for your SLR camera, check out this dedicated article. If you don’t have time and want a quick recommendation, I use the Lowepro Hatchback BP 150 AW II (perfect size, you have the 16L but it’s too small for my taste). You have it on Amazon in 2 colors to choose from.
It’s okay for so much reading. You read BdF because you like to take pictures, don’t you?Well, let’s take a picture.
If you own any, or all, of these accessories in the coming days, I need you to set out the challenge of taking the best photo you’ve taken to date and using one of these accessories directly or indirectly. Stand on the most central street in your city at night, mount your tripod and let the light pass through your camera lens. Put this polarizing filter on your lens and go out and photograph a natural landscape nearby. Get your backpack ready and go on. a photo tour, with the firm determination not to return home except with a good handful of photos that will take your breath away.
If you don’t have any of these accessories up there I leave you some recommendations, your next step is to sign one of these accessories and add it to your team so you can get out soon to enjoy what you like the most. Photography.
Thank you, as always, for supporting the cough to read to me
Good picture.