Who said the best photos can only be taken with the sun in the sky?At night you can also produce beautiful images, with a little research and practice, you can learn to make images even in low light conditions.
Photos of the Milky Way are good examples of inspiring images that can only be made in the shade of the night, but, like any photographic style, these images require good planning and preparation to ensure good results.
- The Milky Way is only seen completely for a few months and in some places.
- You can even see it all year round.
- But to get really wonderful results with your photos of the Milky Way.
- You will have to collect best practices and do everything.
- Just so you don’t miss the opportunity.
That’s why we’ve separated some photo tricks and techniques so you can take good pictures of the Milky Way Are you ready?So keep reading the article!
The only way to guarantee good photos of the Milky Way is with the least possible light pollution, in this case you want to avoid the full moon in the sky.
Start by knowing the phases of the moon and guarantee yourself the best to plan and compose your photos of the Milky Way, on the other hand, you can also take good photos of the Milky Way, even with the moon in the sky, but obviously the full moon should be avoided at all costs.
The other thing to consider is the position of the Moon relative to the Milky Way, for example, a moon will not be a problem if it is far west, while the Milky Way that appears on your screen is to the southeast. they’re too close together, I could end up with extremely bright pictures of the Milky Way, and you don’t want to.
There are many mobile applications and desktop software that can help you plan your photos of the Milky Way, one of which is the Stellarium app, available in both versions (mobile and PC), in Portuguese and in addition, it is free.
You can enter the coordinates, date and time and view the sky realistically in 3D as with the naked eye. With this tool, you can carefully plan the photo shoot for the Milky Way and make sure everything is well on track on the day and time of your catches.
This is not the only app for photos of the Milky Way, a quick search can give you a very comprehensive list of options to use technology in favor of your star photography, so create your own list.
The consensus of many milky way photography professionals is that you should look for a dark area and a clear sky to get better photographs of the Milky Way, but don’t let a little light stop you from filming.
As long as the luminosity of the place does not disturb your photos and you can clearly see the Milky Way, do not miss this opportunity, sometimes illuminating the city or houses of the place where you will capture the photos can generate an interesting contrast with your images.
While landscape photographers love the clouds and hate the completely clear skies, capturing photos of the Milky Way will quickly reverse this thinking.
Cloudy skies are bad news if you want to get clear images of the Milky Way, but don’t get carried away by the presence of a few clouds, sometimes they can add a little drama and frame your photo, so it’s worth filming if the clouds don’t cover the whole sky.
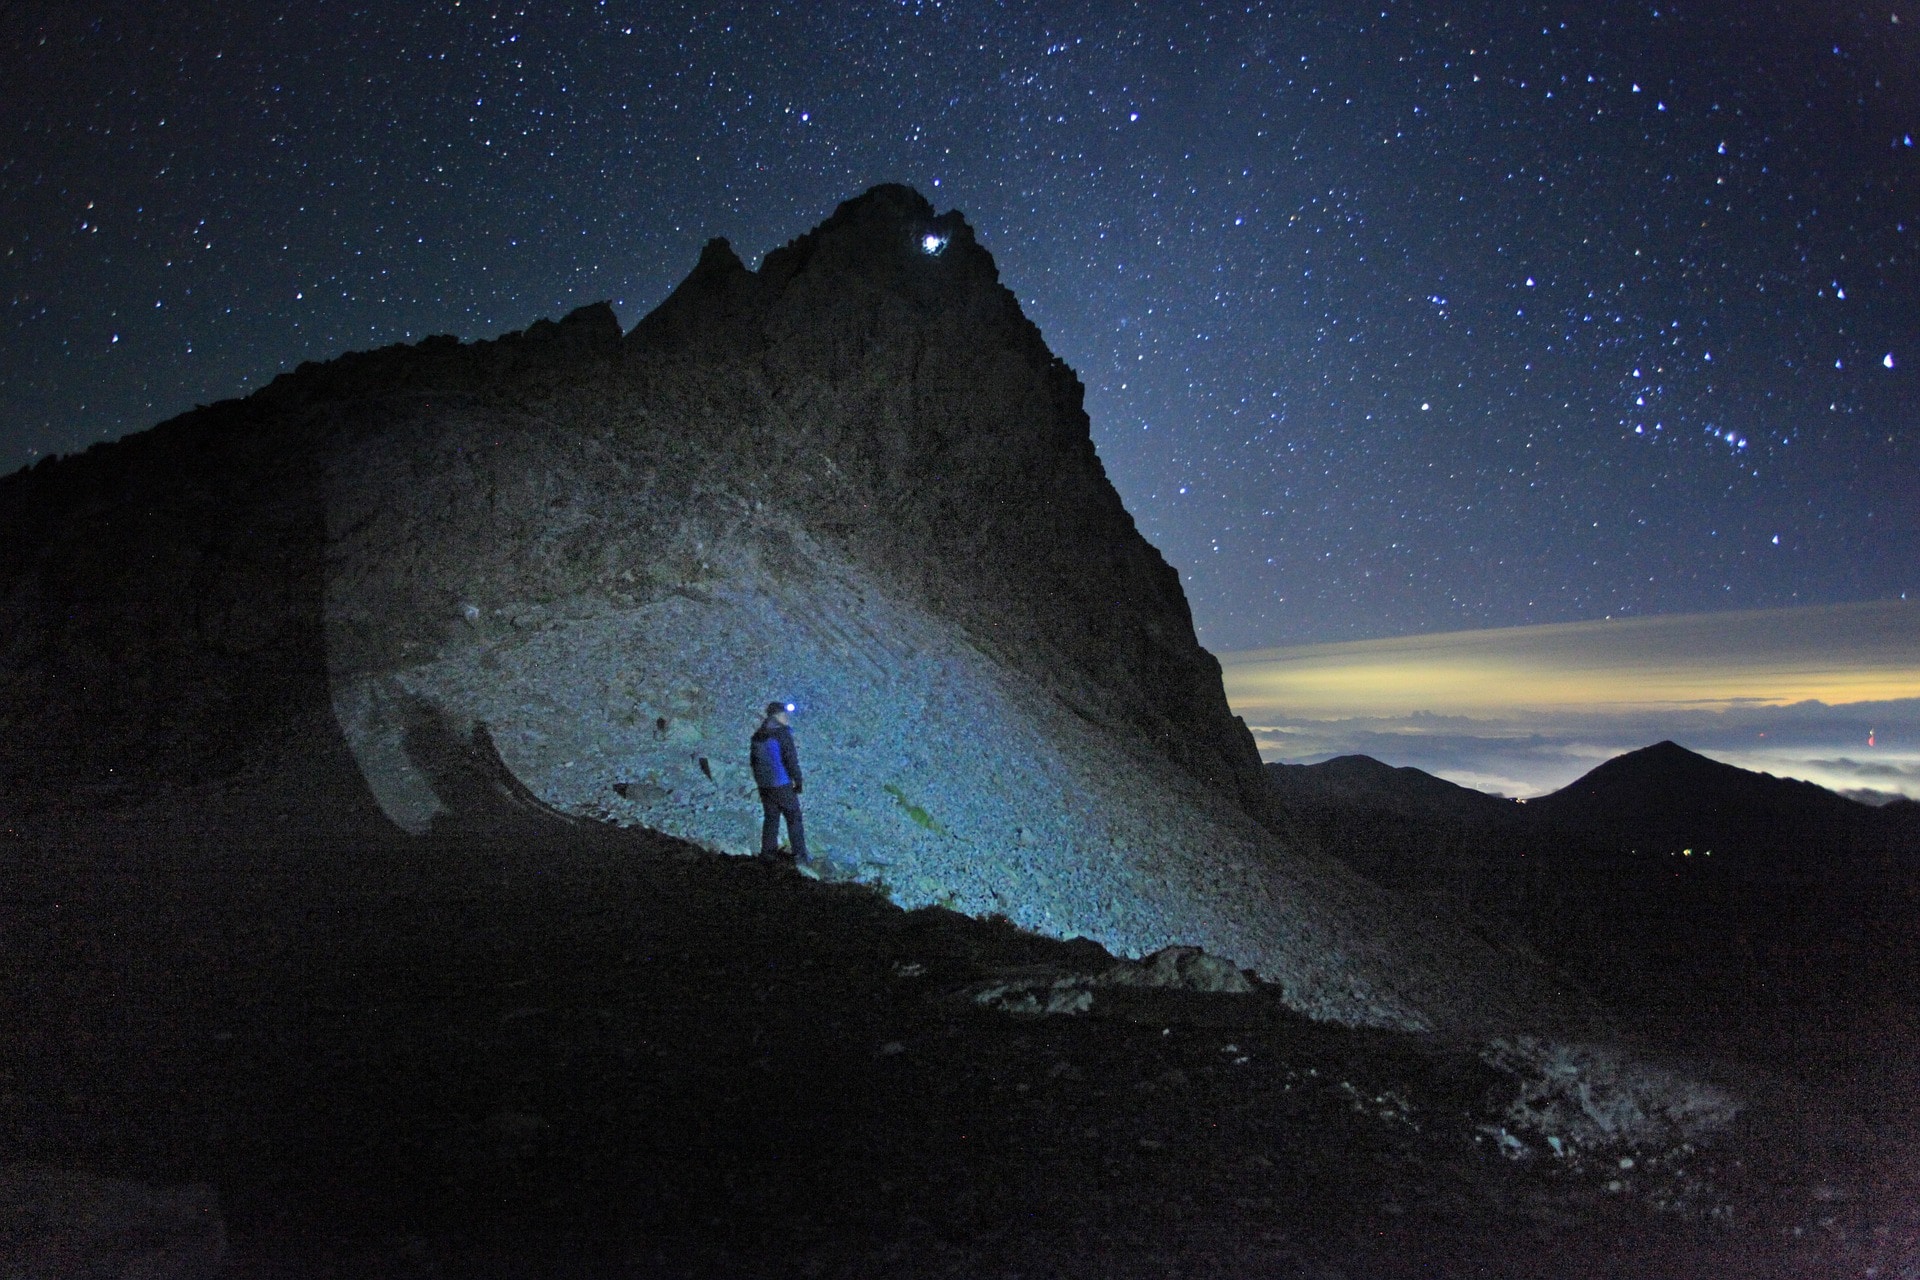
Just because you focus on taking pictures of the Milky Way doesn’t mean your images just need to show stars and constellations, does it?
In fact, the most striking photos of the Milky Way that we have all seen are those that incorporate the terrain and objects into its composition. Then work on the composition of your photos, adding an observer to the scene sitting in a camping chair, for example.
Think carefully about what you’d like to bring to the foreground of your photos of the Milky Way. Even with perfect conditions and the best photographic techniques, your image can be boring if you don’t put anything else on your whiteboard. Interesting foreground function and let the Milky Way mark an impressive background in the image.
There’s nothing to stop you from using the photographic equipment you already have to take pictures of the Milky Way, but night photography is a challenge due to lack of light, so it would be nice if you had a quick target, with maximum aperture of f/2. 8.
With night photography, you will be forced to use high ISO settings during your extended exposures, so it is essential to have a camera that can operate at ISO 3200 and more, especially if you are able to produce good quality photographs of the Milky Way under these conditions.
However, you should not think that you need the most expensive equipment to get more impressive photos of the Milky Way. Work with what you have, then upgrade your camera and other photography accessories when you feel the need.
All you really need from your camera is to have a good live display screen or an electronic viewfinder (EVF). You will use it to define and compose your photos correctly.
It’s dark, you’re going to take prolonged exposures, and that means you’re going to need a tripod more than ever.
You know that a tripod contributes to the stability of your camera and also prevents photos from being blurred with long exposures and high ISO, in this case we don’t need to talk about it again, don’t forget to take a tripod with you when taking pictures of the Milky Way.
The astrophotograph is very unstable and you need to have full control over all aspects of your photo, so set the camera to manual mode.
Under these conditions, you can fully control ISO, shutter speed, aperture, and white balance until you get the right balance and settings for your Milky Way Photos.
On the other hand, it is not always possible to adjust the white balance and the proper aperture in the camera settings, in which case you need to make sure that you can use some post-processing to retouch certain points.
For this to happen and so that you have all the conditions to be able to edit your photos of the Milky Way on your computer later, always take photos in RAW, so that you will have all the photo data intact and ready to be changed later. if necessary.
The camera’s focus will also be in manual mode, so you’ll want to rely on the live view to adjust the perfect frame for your Milky Way Photos.
Set your opening as wide as possible. This large aperture will expose your sensor to the maximum amount of light.
Then, using the camera screen view, point to the brightest star you can see until a small point of light appears in the center of your view. Zoom in a little to see this point as big as possible.
Now rotate the focus wheel of your lens until the star becomes a small bright spot. Try turning the focus wheel a little more until the star looks blurry, then return until the star is as small as possible, sharper. Do not rush to this configuration and take your time.
Now that you’ve set up the focus of your lens, it’s time to compose your photos of the Milky Way. Use an external light source to light up the scene and see what you want to capture in your Live View.
If your camera has a digital level for perfect profiles, otherwise use it, consider investing in a bubble level to put on your camera shoe.
Set the shutter speed to about 10 seconds (with ISO 5000 if you have one) and take a test photo. At this point, all you have to do is take some test photos to test your settings and look for the most suitable composition.
Once you’ve finished taking test photos and making the final tripod settings for a perfect composition, it’s time to check your camera settings.
When photographing the Milky Way, I prefer to photograph with its white balance in Incandescent, if I’m not mistaken, it’s the tungsten version of Sony. The blue color is very good and also shows a lot of contrast so you can clearly see the Milky Way.
In addition, when you process your Milky Way photos later, you can reset the white balance in automatic mode (AWB) for more realistic temperature and more neutral colors.
I advise you to experiment with different white balance settings to get the color temperature you prefer.
Shooting with an incandescent white balance, for example, will almost always produce good neutral results, which you can also edit later in Lightroom or Adobe Camera RAW So feel free to try it!
If the image has been exposed correctly, it just needs a little further processing. RAW images usually require additional editing to make the photo as high as possible.
There are different options for photo editing programs, from the best known and complete ones like Pothoshop and Adobe Lightroom, to simpler and stranger ones, if you’ve been working with photography for a long time, you probably need to have your favorite software for this task.
The only thing to keep in mind when editing photos of the Milky Way is that less is more. When you overexpose your post-processing photo, for example, noise levels increase dramatically and therefore reduce the quality of your photo.
For this reason, do your best to adjust your camera settings accordingly before capturing your photos from the Milky Way, so that the number of edits for your images is very low.
Now that you know how to get beautiful images of the Milky Way, I hope you get good results and have fun in this hunt, after all, these images are very inspiring, aren’t you?
The above tips are not the absolute truth to get pictures of the stars. Like everything related to photography, experimentation and practice can provide different methods to capture more inspiring photographs of the Milky Way.
So take your camera now and look for your own images of the Milky Way. Then share your results in the comments field below and tell us how these tips helped you compose your photos.